×
Hey guys. It's Nick from F150LEDs.com. Today, we're going to be walking you through the install of our MKII Ambient Lighting System on a 2015 Ford F-150 truck. Now, some upgrades that we've made to this kit ... we've gone from a five zone to a seven zone, so there's some additional zone lighting here up under the driver's side and passenger side dash lights. We've also added some audio sync function to the kit, so that the lights can sync. They can strobe, they can get brighter and dimmer based on the music that you're playing, which is a really cool function.
Of course, we've still got our standard fade options, or if you want to go through a faster light cycle ... just some things that are fun to play with. And of course, you have your static color selections that vary from a wide selection of different colors all controllable by this wireless remote, which makes it easy. And of course, your ambient lights are going to cut on and off by themselves. And they're going to remember your color settings, so you don't have to worry about it once you install and choose your favorite option. Okay. So, the installation is very easy and straight forward. I'm going to show you how it's done right now.
So, let's take a quick look before we start the install and see what tools that we're going to need. Fortunately for this install, we don't need much. But we can take a flathead screwdriver .... that helps route some of the wires. We're going to need a 5/16 wrench or socket wrench, and that's to tighten our ground bolt down. And then we need a just a cutting tool, some simple scissors or some wire cutters like this that we're going to use just to trim up some of the zip ties after we're done installing the lights.
The installation is extremely easy at this kit, and I find it easiest to start right here behind the passenger seat. That's going to be where we want our joint bundle here located. It's going to stay here below our passenger seat. If you take a look, on one side of your bundle you're going to have four wires, and on the other side will be three wires.
If you're taking a look at this four wire side, the first three wires here on your right are going to have to do with your passenger seat and the upfront passenger light. We can go ahead and separate those three lights, as well as our controller which is here at the top. So, these three lights, these three wires, and this bundle we know are going to be used for this passenger seat. You can set those aside.
Now, the next two wires here on the left side ... as you're looking at it, these are going to be the wires that are used for your under seat lighting here on the driver's seat. We know we can go ahead and route those over here. And then the center wire here on the back of your bundle here, this is going to be the light for the front under dash driver. And then the last light here is going to be for your center console, or for under your third seat if you don't have a console. So, these three wires here, and then the top wire are going to stay on this side of the truck. And then the other four lights, we can go ahead and kind of run just to this side of the truck. All right. Now we can take a look at installing our passenger seat lights, and then we'll move on to the driver's seat.
So, the first light we're going to install is this first wire here on the right hand side of the four bundle. Take that wire. It's the shortest length wire. And then we're going to install it right here underneath our passenger seat. There's some tension bands that help hold the seat covering together right under here, so we're going to run our light under those bands, and it will hold in a place, and then we'll remove the three in backing here, and adhere it to the plastic surface that we find underneath the seat.
It's hard to capture this video just because the angles, but we'll try and put some pictures up to show you as well. So, you just run the wire up under those two bands. Just try and find as much plastic as you can, and then we'll be able to take the 3M off. We've got our first light installed.
Now, we're going to take this second wire from the right here, which is also the shortest link. This is going to be our front passenger seat light, so we're going to go ahead and run it up under our passenger seat here, and then we will install it from the front of the seat.
Okay. We've got our second light run through from underneath our passenger seat from the rear. Remember this is the second wire from the right. So, this light we're going to install right here underneath the passenger seat. We're going to be using a crossmember bar. You could use the adjustment handle if you want. One good thing about this kit, it's pretty flexible, and you can mount it wherever you think is best. It's kind of hard to show on camera, but we're going to try and get a straight on shot here as we install this.
Make sure your mounting surface is very clean before removing the 3M adhesive backing and applying the LED light. Make sure to use the included zip ties to secure the light in place. Okay. Now let's run this front dash light between our center console and our passenger's seat. Remember this is the third wire from the ride on that four bundle side. So, you can just run it through the seat post here, and through the center console and passenger seat gap.
Okay. Now that we've got our light run between our center console and our passenger seat, what we're going to do is mount it up under this dash. Our wire is going to tuck up right under this trim piece, so that won't be something that you're going to see. First thing I'm going to do is tuck a little bit of wire here up under this trim piece, because I want to keep as much tension off of this strip as I can. Now, I'm going to remove the 3M adhesive covering. I'm going to mount it right up here under the dash. It's okay if it's a little uneven. Just want to make sure it gets a really good solid hold.
Okay. Now we can tuck the rest of our wire here up under this trim all the way back to underneath the passenger seat. Installing this center console light is easy. We just need to open up our lid here, and then take a flathead screwdriver, and we're just going to apply some pressure right here, and just kind of pry up on this trim piece. You'll hear it pop up just like that ... Because we're going to be routing our wire up under there, so let's go ahead and remove our 3M tape. Before we reinstall that trim tab, let's go ahead and get our light in. Now, there's a lift here at the front of the center console that this rests on. I'm going to apply the light right under that lip. You can, of course, put it wherever you'd like in this console. Just make sure it's got a really good hold. Okay.
Now, I'm going to run our wire up through this trim. Under the trim, I should say. I have to lift up on it just a little bit more. Okay. Make sure there's no excess wire here, and we're just going to apply some pressure down on this trim tab. Then we've got our center console light installed. We've got our lights installed on our passenger side, and in our center console. Now we've just got the driver's side left, and that's going to be exactly the same as the passenger side was. So, you're going to run your three remaining lights here behind the center console and up under your seat. Your two shorter length wires are going to be for under the seat, and the longer wire here is going to be to run up under your dash there near your foot pedals. Okay.
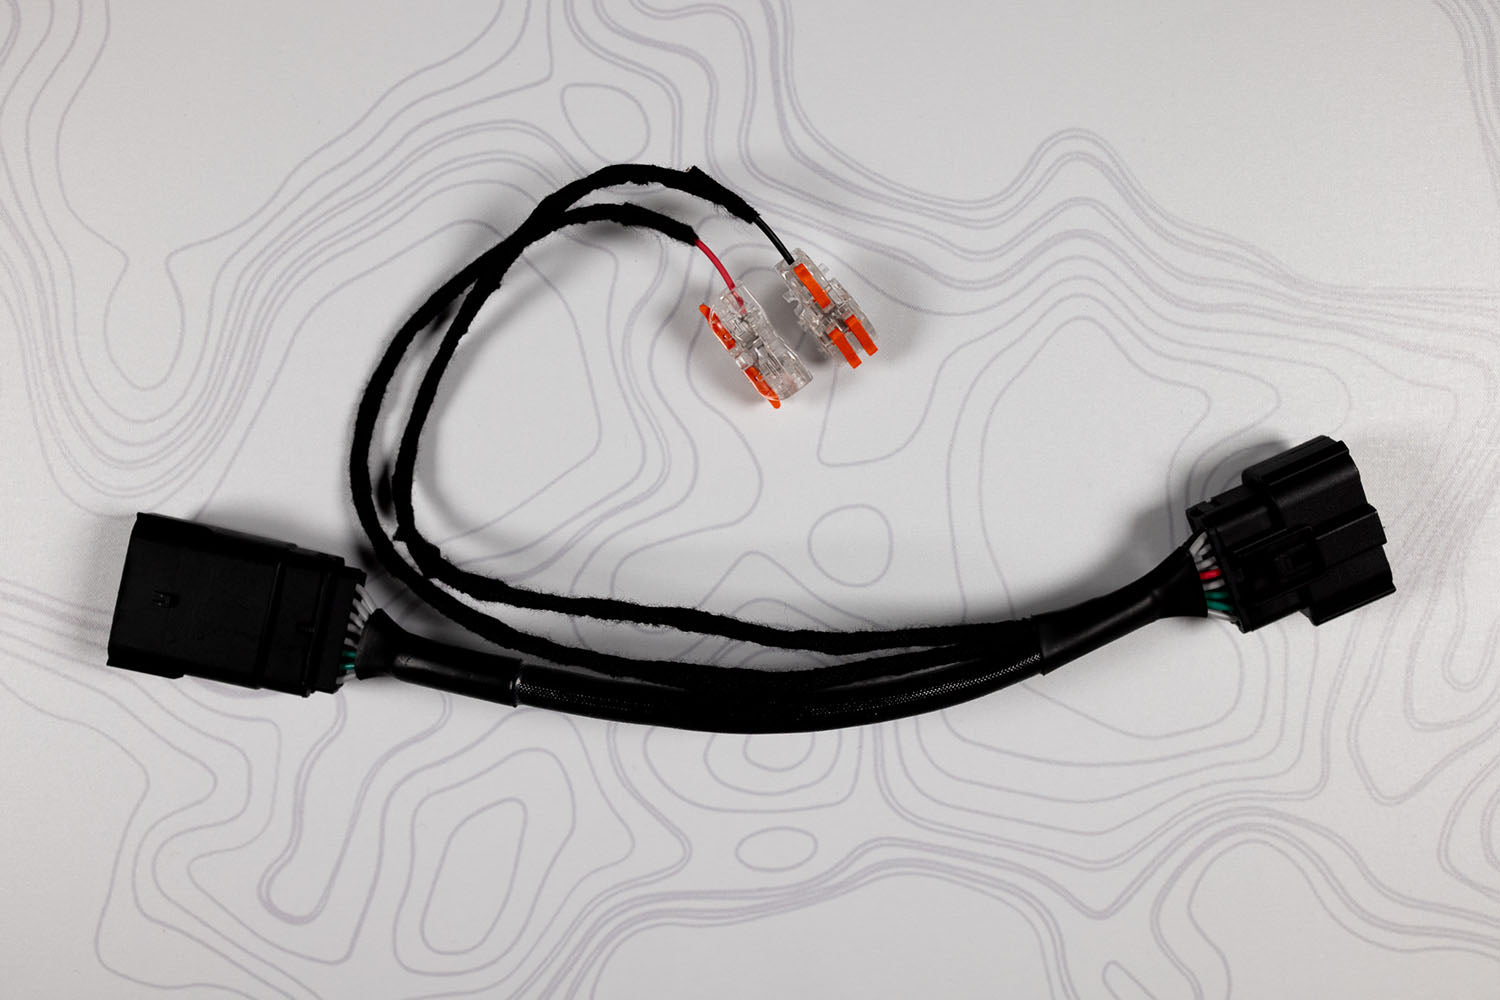
So, as you run these around the console, you better just take a flathead screwdriver and tuck them under the console like that to hide them after we get them installed on this side. One of the last things that we need to do is use our custom power connector harness here, so that we can connect our ambient kit to power. Now, it's extremely easy to do, but because of the location it's very hard to show on camera. As I do this and talk through it, we're going to try and show it to you through pictures just because it's so hard for us to get a good camera angle.
The first thing that we're going to do is connect our ground loop here. There's a bolt right here on the passenger foot panel, and you can use a 7/16 socket or wrench to remove that bolt. With our bolt removed, let's slide our ring terminal over the bolt and reinstall the boat. With our ground wire connected, now we need to gain access to the fuse panel that's right behind this plastic piece. You can actually reach your hand around, and there's a little handle indention. If you pull out on that, the cover to the fuse panel will pop right off like so. That will show us our fuse panel and give us access, so that we can use our easy quick fuse tap connector.
So, all that we've got to do is be sure to check the information that comes with your kit. It will tell you which fuse number to use. You'll take that fuse out and you'll plug it in to this slot right here. So, you'll take that original fuse out of your truck, put it right here in this slot, and then you'll put this connector right back where that original fuse was. That's all there is to it. Okay.
Again, because of different year models and changes, the correct fuse may change. Be sure to check the information that comes with your kit. Let's go ahead and push our excess wire behind the panel here, and we'll reinstall our cover. We just want to make sure when we're finished that our power connector is coming out the top of this trim right here just like so.
Now for our last step, we need to mount our control unit and our audio receiver. So, we're going to mount it right here where our power cable is. Just make the connection at the top, and then we're just going to get a good spot. This audio receiver needs to be somewhat visible and somewhere near a speaker so that the audio sync will work properly. All right. There's also some screws that come with the kit that you can use with this sensor if you don't want to just use the 3M adhesive. Okay. Now, I'm just going to tuck this wire up under the door seal rubber trim here just to clean things up.
That's all there is to getting our MKII Ambient System installed here on a 2015 and up Ford F-150. The lights look fantastic. They really do add to your F-150 experience at night, and we're sure you're going to love them. Now when you're functioning your light kit on the remote, be sure to keep in mind that when you're on a single color, the up and down arrows can adjust the intensity. So, hitting the up will make it brighter. Down will dim the light if it's too bright for you at night.
Now, when you're on a sequence function like this fast blink function, you can adjust the speed of its blinking with the up and down arrows. And then when you're on the audio sync function, the up and down arrows adjust how sensitive the audio sync is to your music. If it's picking up on too many beats too fast, you can just simply click the down arrow, and it will become a little less sensitive to the music. Depending on the type of music you're playing, that might be a useful tip for you.
The kit really does add a lot to your F-150 experience. Highly recommend it. We're sure you're really going to like it, and you can check it out at F150LEDs.com where you'll find all of our custom LED products built specifically for your Ford F-150. We truly appreciate your support. Be sure to click the subscribe button below, and we'll see you soon. Thanks guys!