×
Hey, guys. It's Nick from F150LEDs.com. Today we're here, going to be showing you a great and easy way to improve your F-150 experience and make you a safer driver. We're going to be showing you our Heads Up Display unit. Now, these are custom built. They're going to match across all years of our F-150 models. They're going to be able to read off the ECM from your OBD2 port, so they're as simple as plugging into your OBD2 and then mounting your projection system here on the dash. And what it's going to do for you is display things like speed, RPM, et cetera, directly onto your windshield. So no longer are you going to have to be looking down at your dash for those readings, for that information, you're going to be able to focus here directly on your driving, and that information is going to be displayed directly on the windshield. It's really cool. It really does improve your F-150 experience. We've been testing this model and improving it. I've had it on this Raptor here for about a year, year and a half, and I really would not want to do without it. We highly recommend the upgrade. It's easy to install, and we're going to show you how it's done right now.
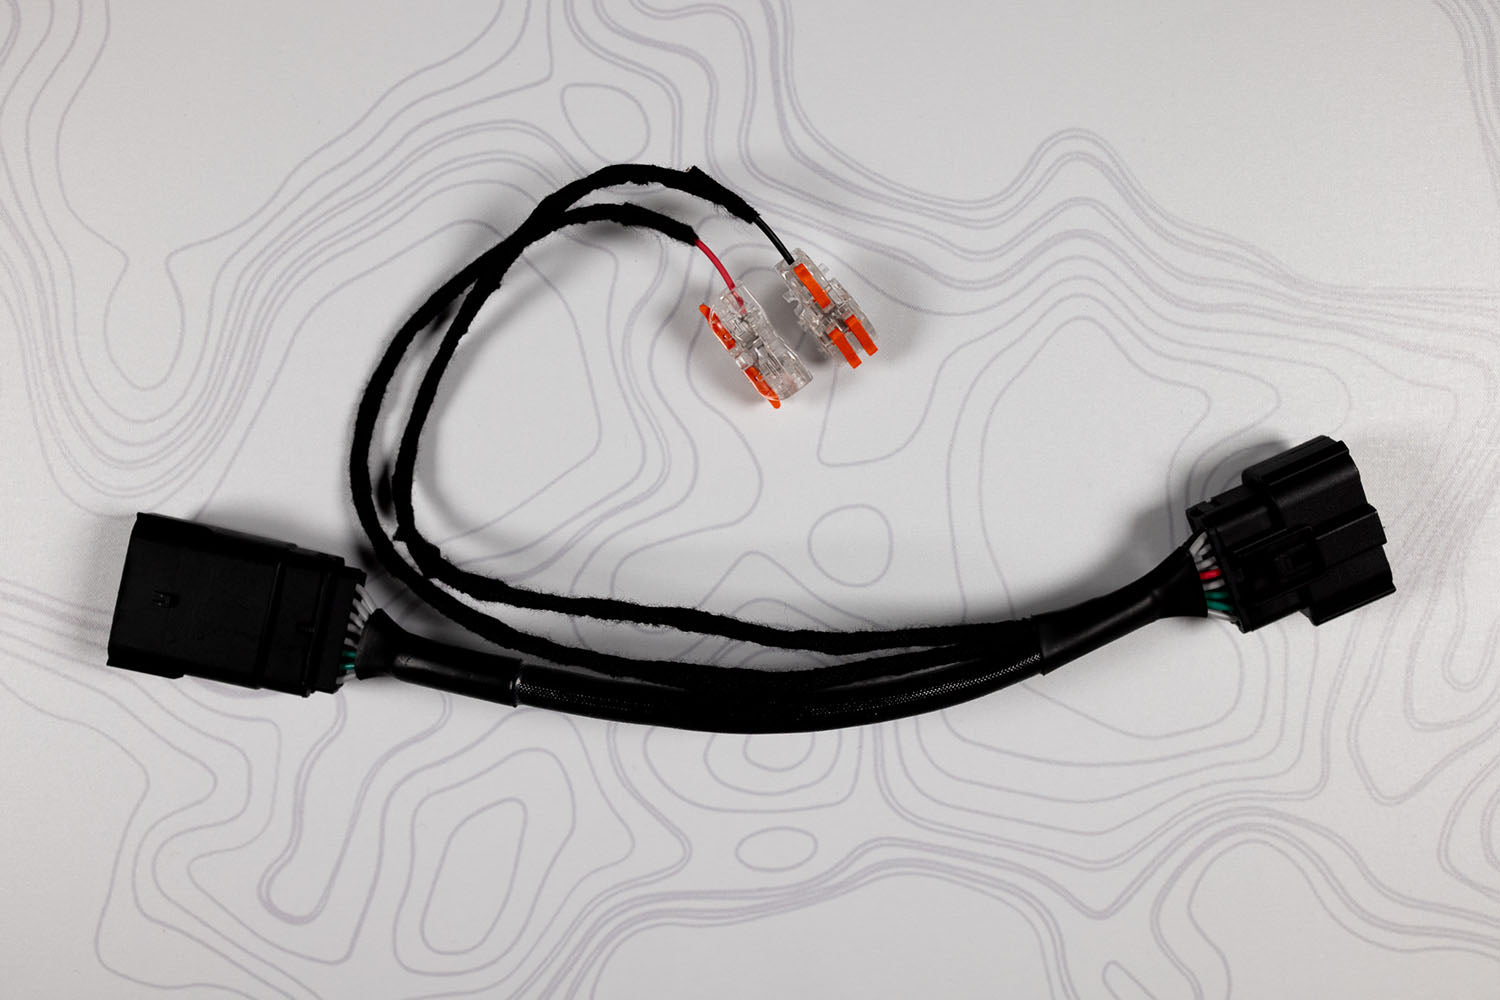
So as you open the box and you take out the HUD unit, one thing you'll notice is that it matches the interior design of your Ford truck. So the color of the unit as well as the angles and designs are made to match the interior look, because you want it to look as seamless and as original equipment, straight from factory, as possible. So we made sure that we implemented that into the design, here. So go ahead and set your HUD unit up there. And then below your HUD unit, you're going to find the OBD2 connection wire. So this is going to connect your OBD2 port. And then we're going to run the wire up here to the top here and connect it directly to your HUD. Set that there. And then you'll also notice that there is a protective film here. So this film is actually made to apply directly to the windshield. Now, this is an optional feature. You don't have to use this, but if you're having trouble seeing your Heads Up Display unit, you can use this film, and it just makes it even easier to see. Me personally, I don't use it, but it's there for you in case that you do need it. Okay?
So as we get into the install, we're just going to position our HUD to the top of our dash, where we think we're going to want it to go. You'll have some adjustability. And then we're just going to run our wire. You can put it under this, press into this, A-pillar here and this a upper dash. And then once we get here, we're going to pull this rubber door trim off just a little bit. It just pulls directly off. And then we'll pull this vent cover on the side of the truck off just to make sure our install's as clean as possible. You could run all the way down if you want to. You wouldn't even have to do that. And then we'll make the connection at the OBD2 port, and then we'll be ready to reposition our HUD and calibrate the unit.
Okay, so we've got our wire plugged into our HUD unit here, and got enough wire so that we can move the unit around just a little bit, but we don't have a lot of excess here at the top. And we've pushed it down in between this A-pillar and upper dash. So now, to get to the rest of the way to our OBD2, just kind of grab this door trim rubber seal here, and it just kind of pulls away from the frame of the truck like so. And now what we're going to do is remove this side vent panel. Okay? So you can just apply pressure directly out, and it'll pop loose like so. So this'll give us an access point here behind the steering wheel to get to our OBD port, here. So you can run your OBD2 connector like so. Okay, and then just kind of pull that wire down. Okay. So, our wire's there.
Now we can reinstall our vent cover. Just pops on and off like so. Okay, and then you can push your rubber door seal back into place. Okay, so that's all there is to getting our wire cleanly into our OBD2 port. So now you'll take this OBD2 connector and push it directly to the port located here under your steering wheel. And then once we connect it, we'll just want to tidy up the wires, so you can bundle up any extra you have up under behind the dash area and use a zip tie or something similar, and then we'll move on to calibrating our unit.
Okay, now that we've got our HUD connected to our OBD2 port, just go ahead and position it onto the dash. And once you find where you want it, there's two adhesive pads here on the bottom that you can use to mount it directly to the dash.
So once you've done that, there's only two things left. One is to decide whether or not you want to apply this film to your windshield that just kind of makes the HUD even easier to read, but that's totally optional. You may want to give it a couple of days to see if you really want to do that and then come back and do that.
So the last step to installing it is to simply calibrate the unit to your truck. So there's 24 different parameters here. We give you the parameters we use here on the back of your box here. You can check them out at F150LEDs.com, as well. But depending on if you've got a big lift on your truck and big tires, you may need to calibrate the settings just a little bit to the same as you would have to do with your OEM gauges, if you were to put larger tires, et cetera, on.
Another variant, as well, is this allows you to display fuel, coolant, temperature, time, voltage. Me personally, I only display the speed and the RPM reading. That's all I ... I'm a little bit, simpler is better, guy. I don't need all the information on the windshield, just what's most important to me. But through the calibration settings here, and it details how to do it on the box, you can activate those settings, as well. And there's just a little knob here on the top of this HUD. Pressing it in for five seconds will enter you into programming mode, and then just pressing this button will cycle you through the different parameters and rotating it right and left will edit those printers. So just be sure to follow the guide here on the box, and you'll be set.
So that's all there is to installing the F150LEDs.com Heads Up Display unit for your Ford F-150. It will work on all models, '96 and newer, and this is a '17 Raptor, but the installation is going to be the exact same '04 and up. And then the prior models simply just don't have the vent removal option. You can check us out at F150LEDs.com. We truly appreciate your support and look forward to seeing you there. Thanks, guys.


