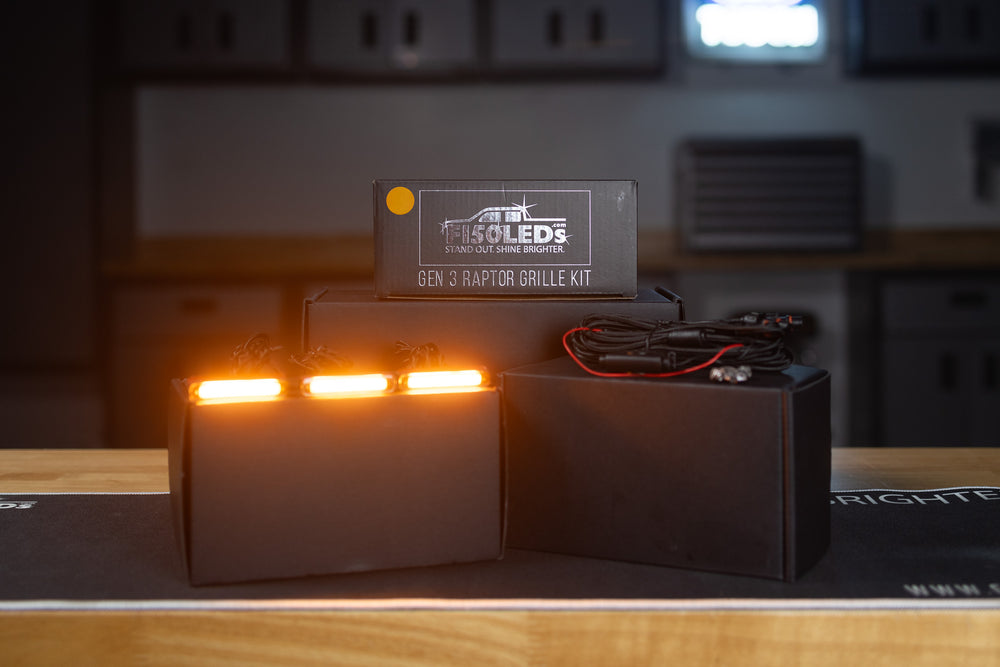

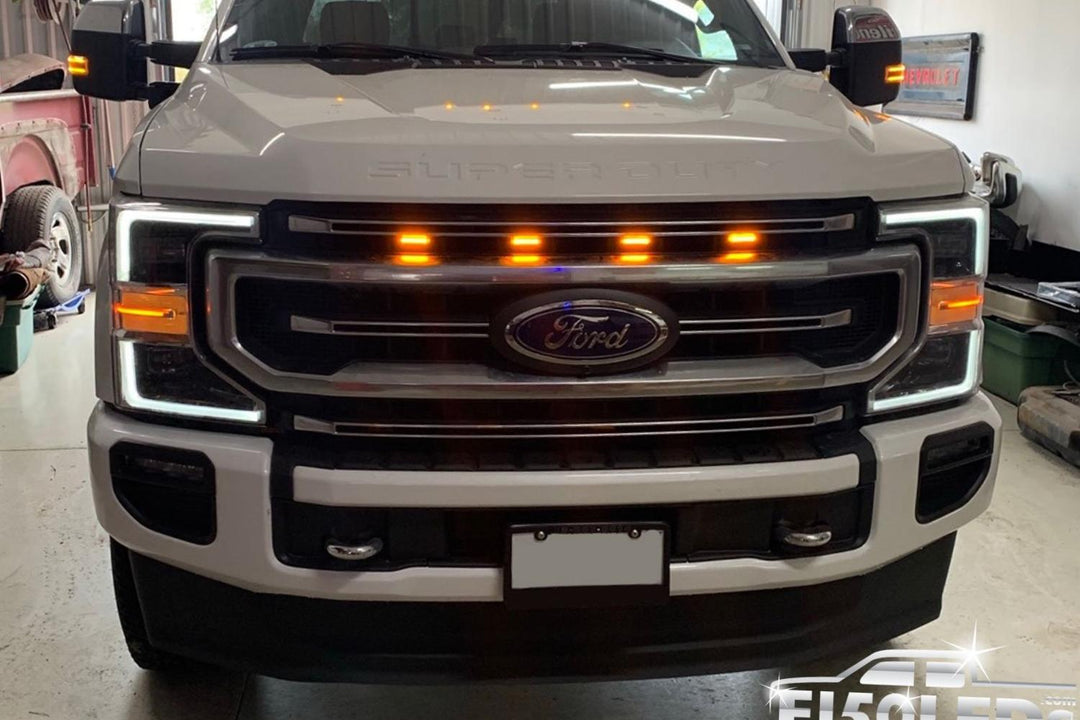


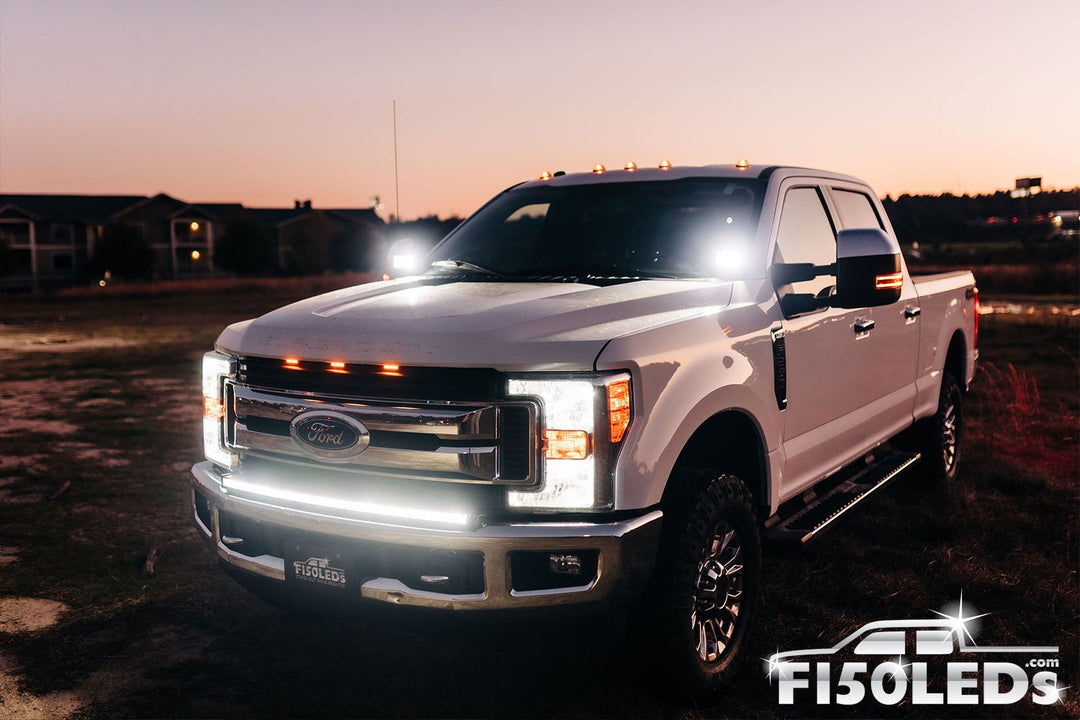
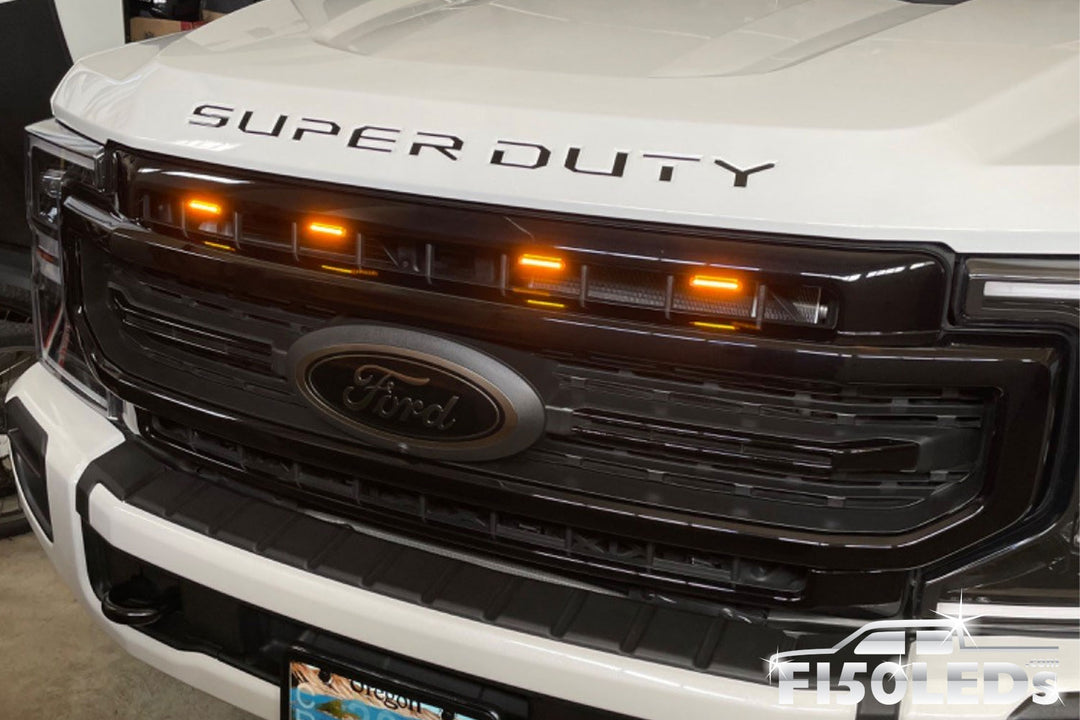

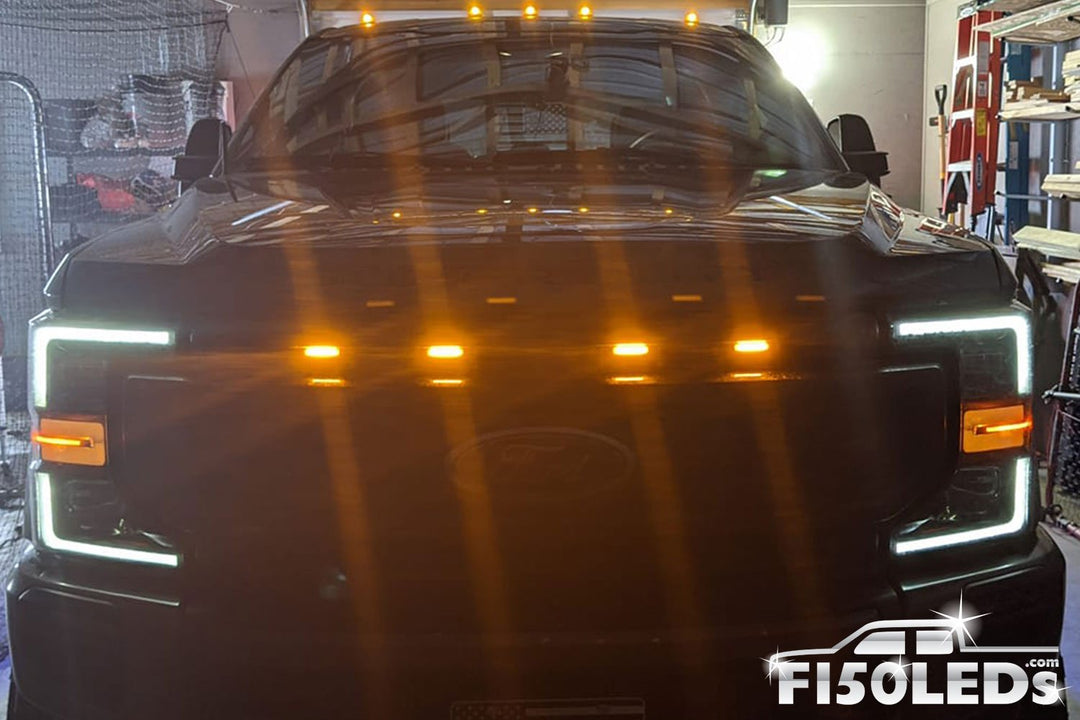
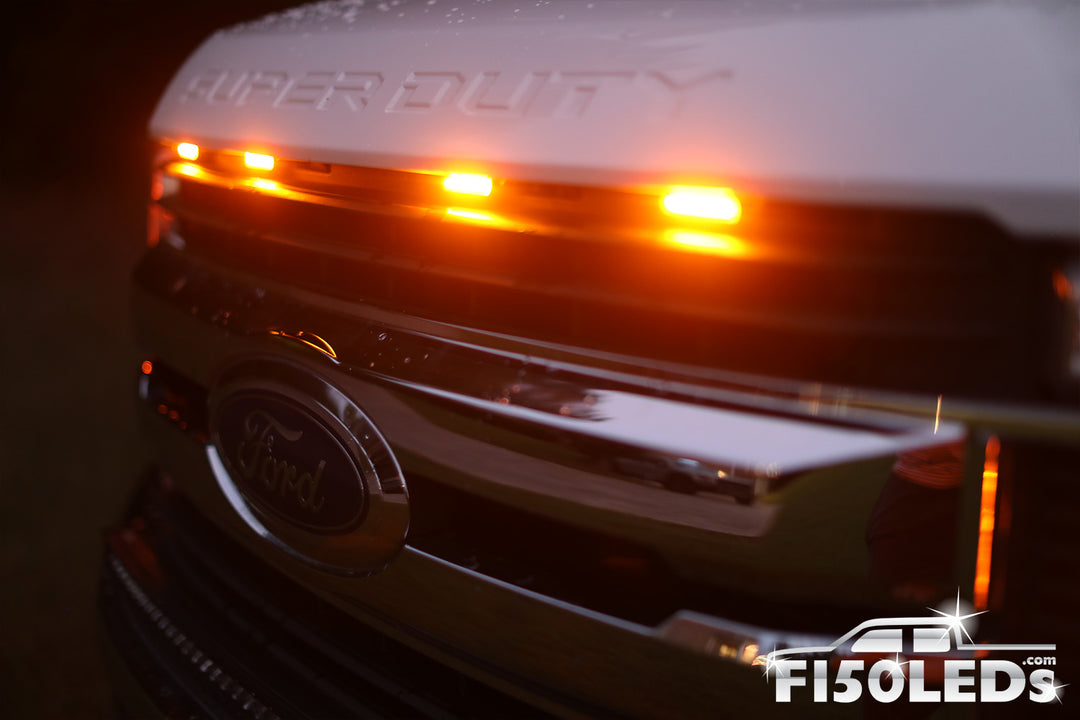
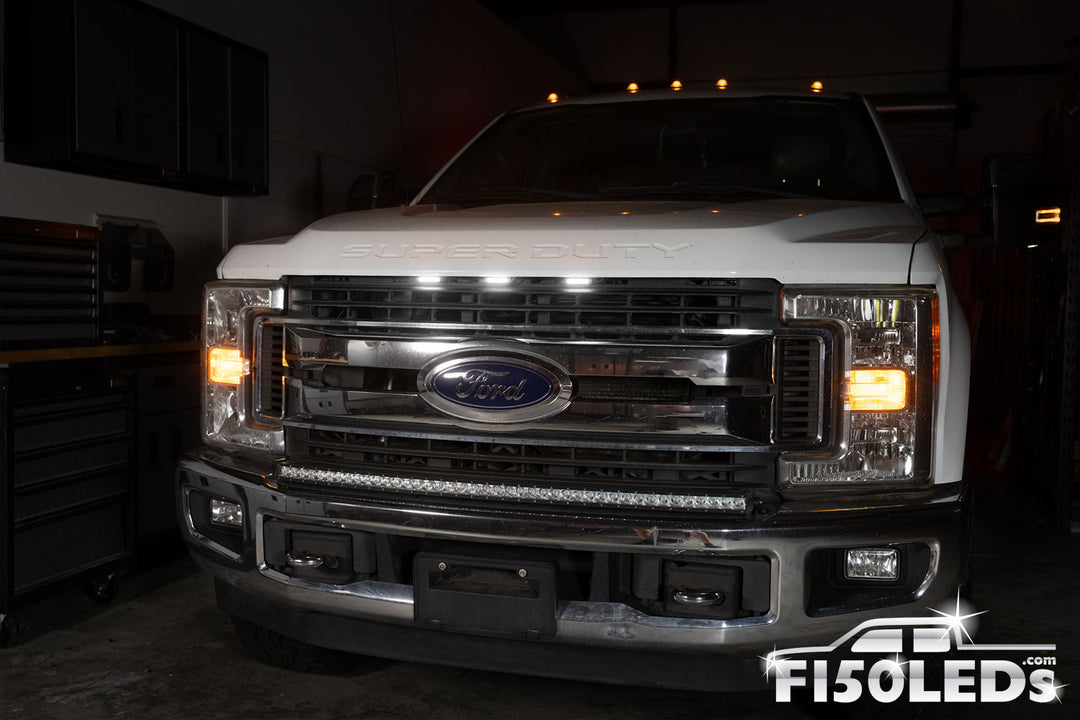
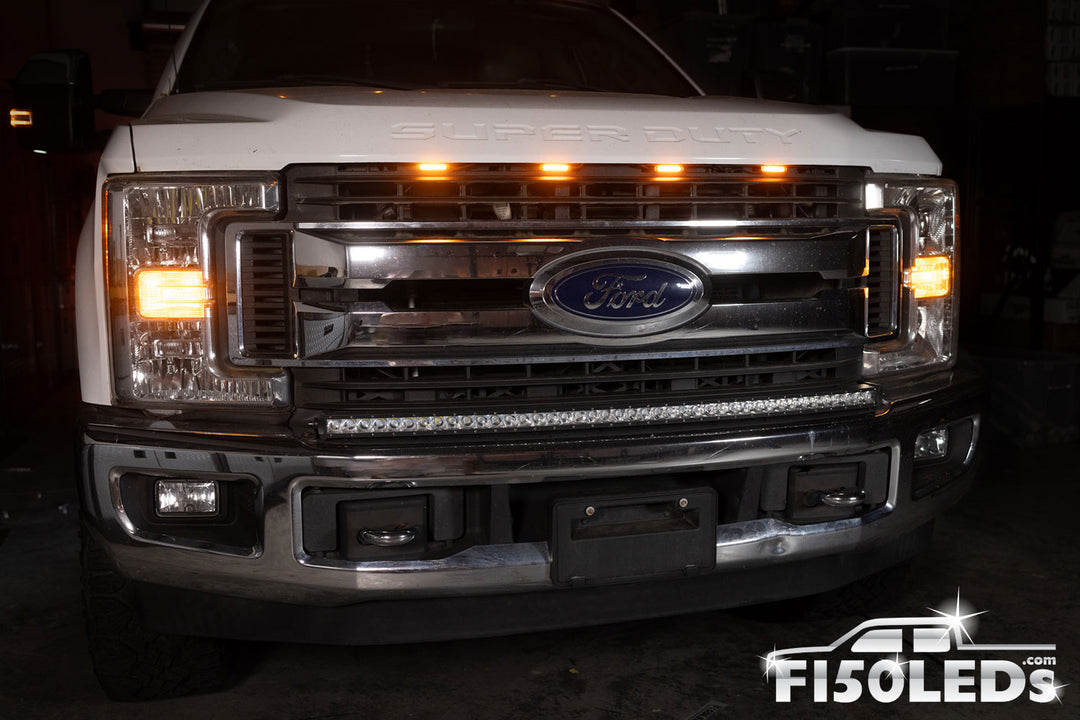
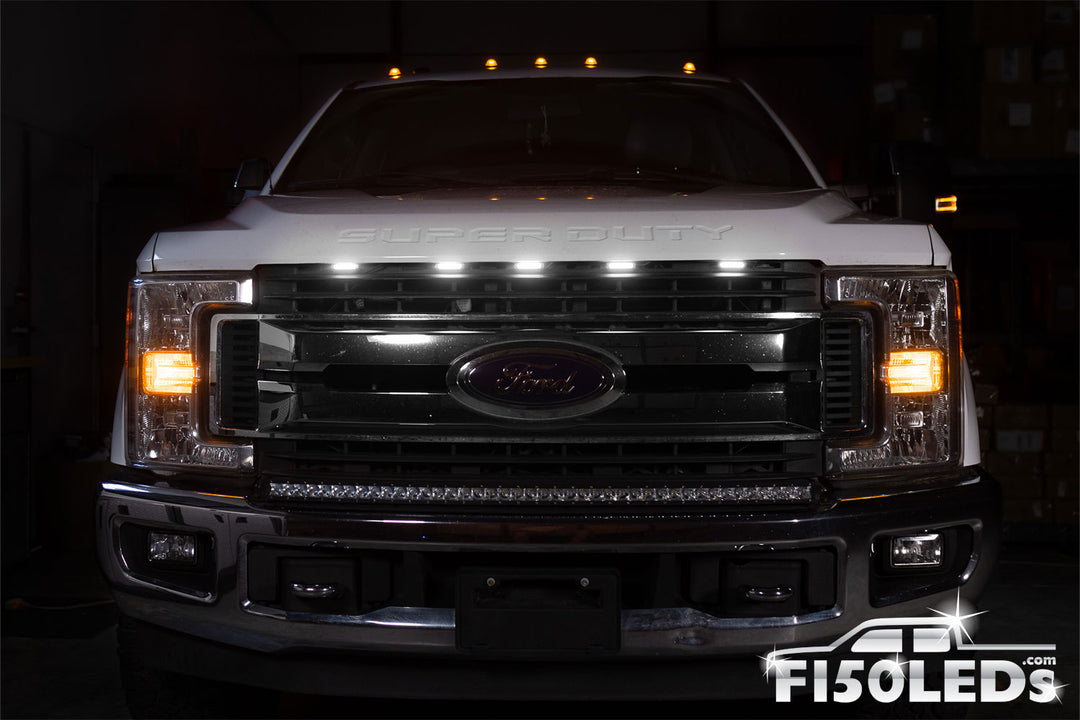
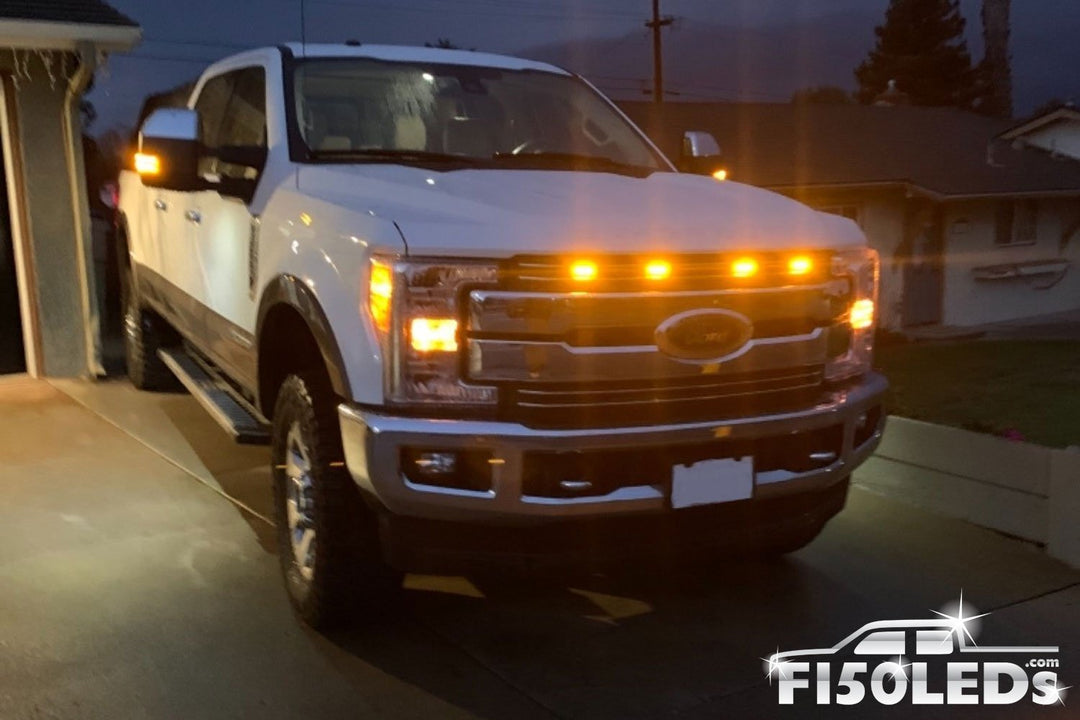
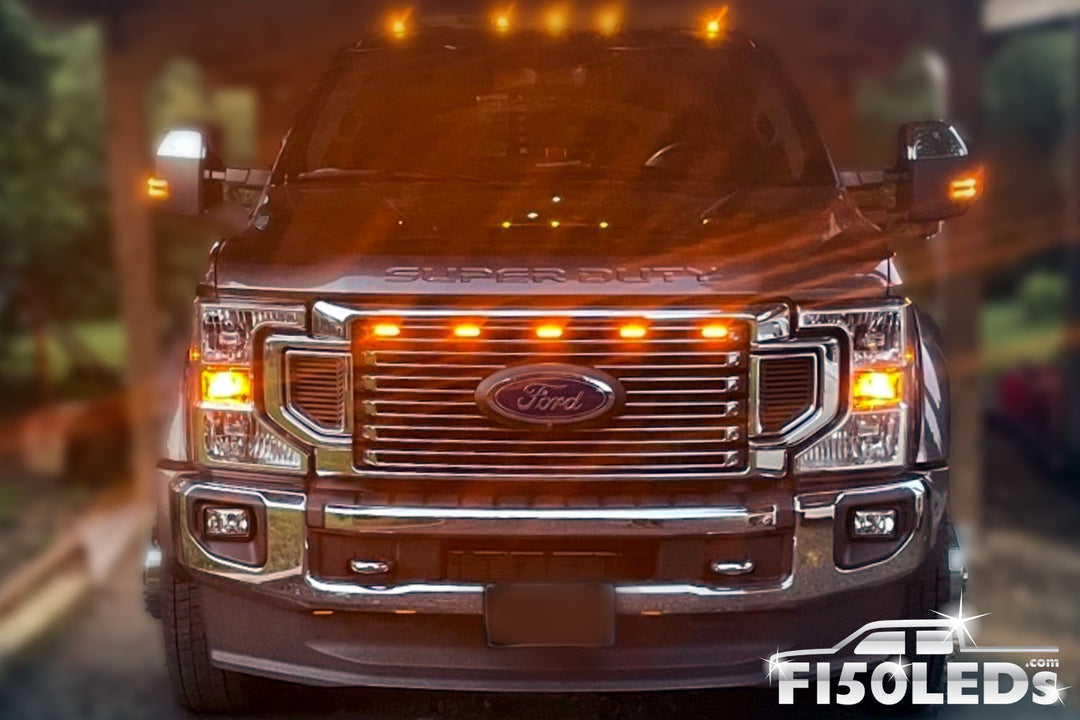


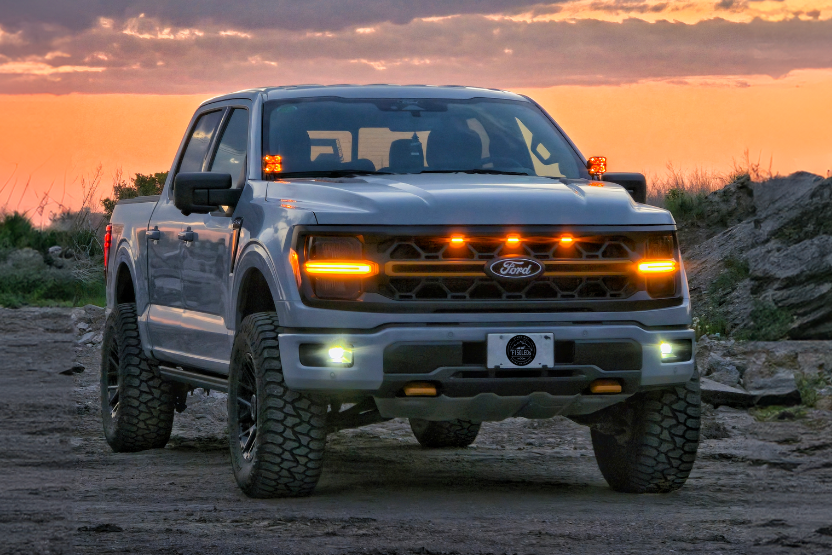
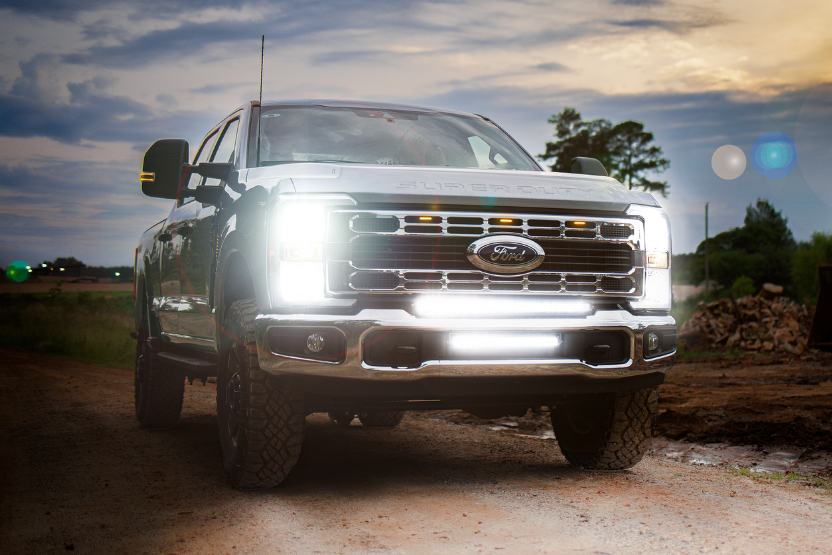
Our custom-built third-generation 2017, 2018, 2019, 2020, 2021, or 2022 Super Duty Raptor Style LED Grill Lights are the absolute best looking & brightest Raptor Style Grill Lights available for your F250, F350, F450 or F550 and are guaranteed to add a subtle but aggressive look to your Super Duty that helps it stand out from all the rest!
Thousands of fellow Ford owners loved our first & second generation Raptor light kits but our new third generation Raptor Style Extreme LED Grill Lights take things to a whole new level!
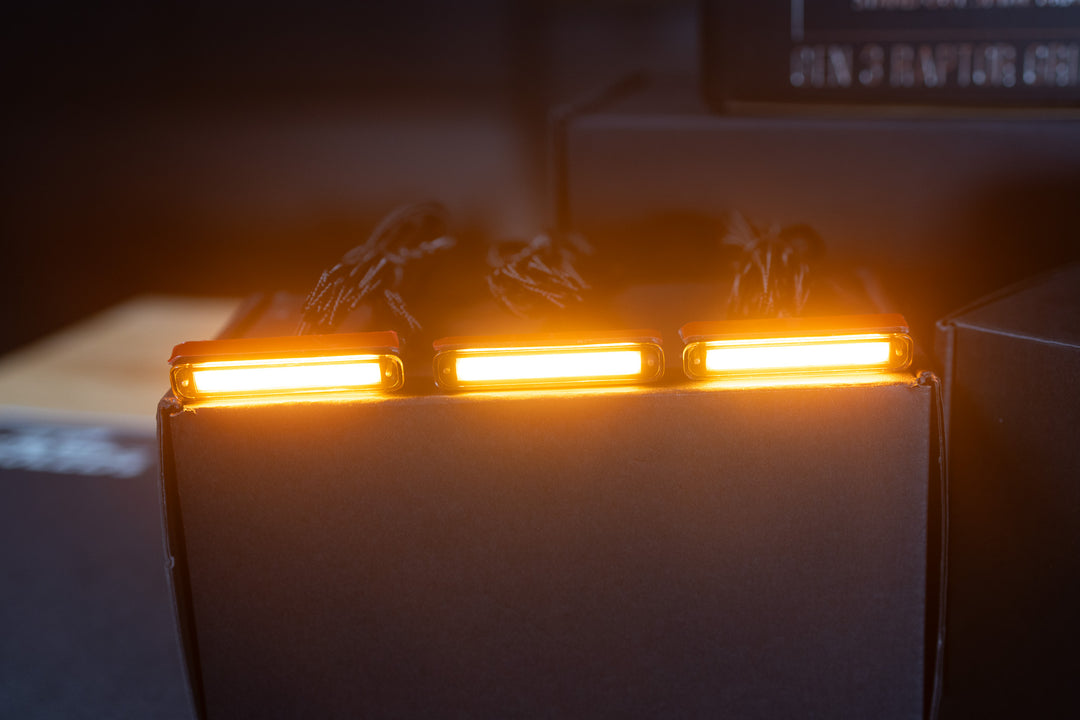
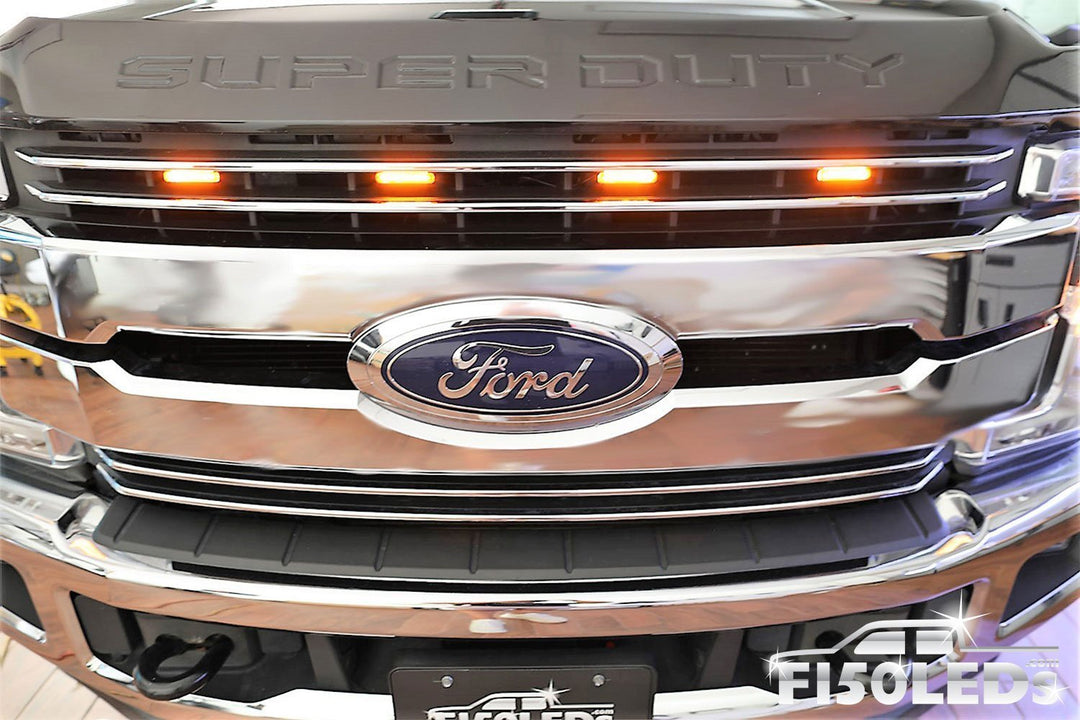
1) Chip-on-board LED integration w/ linear lighting & refined amber color output
2) Brightness improved by approx 25% over prior generation
2) Colored underlayer to provide color accent even when powered off
3) Improved weather-proofing for extreme weather/moisture/temperature conditions
4) Stronger front plate with smoked lens added to light housing along with stronger adhesive
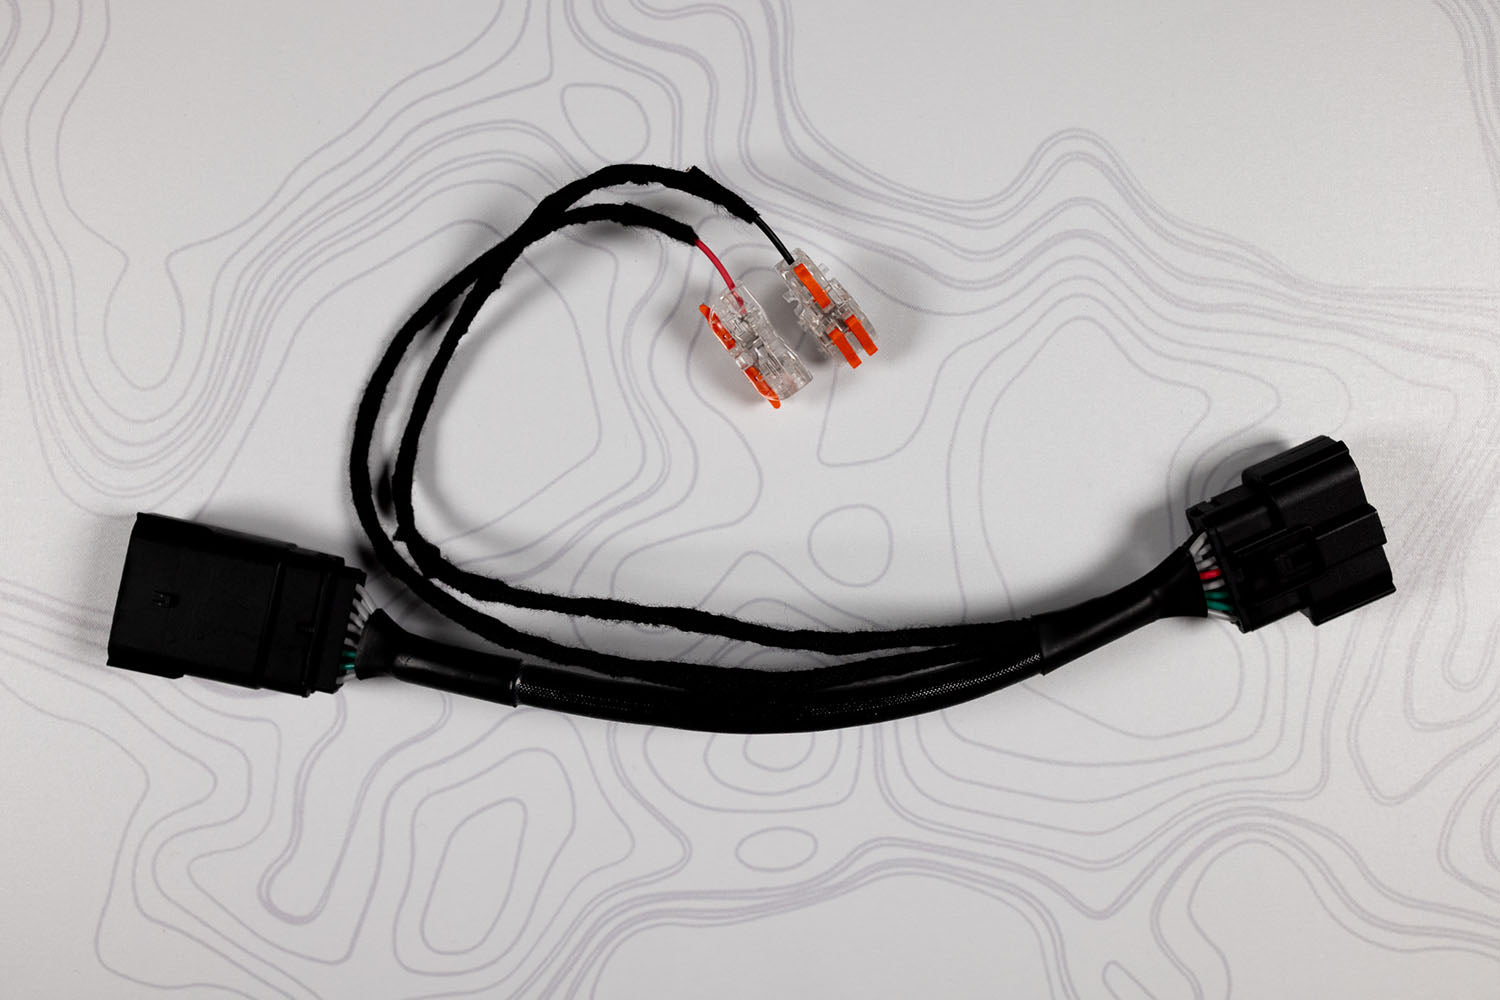
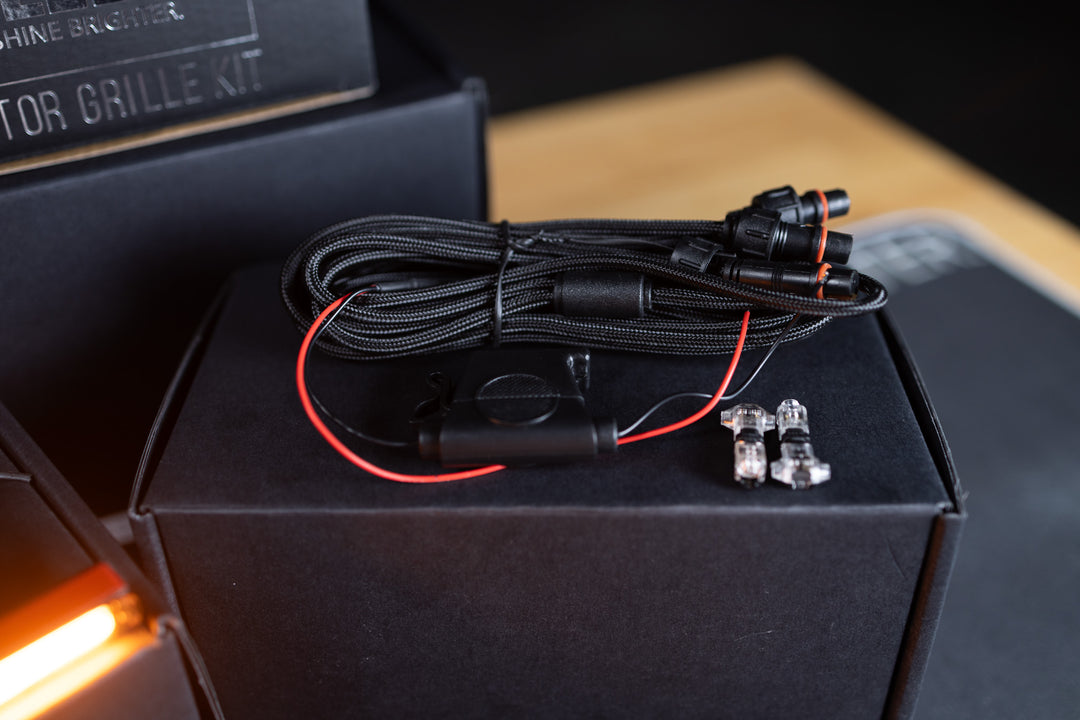
5) Easy to route IP68 connectors, thermal braiding & in-line fuse protection added to harness
6) Easy tap connectors now included to make connecting to your truck easier than ever
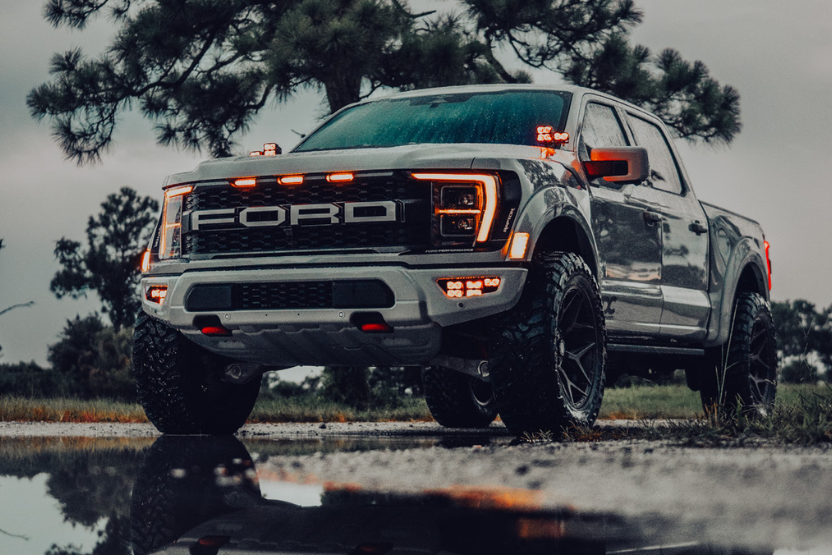
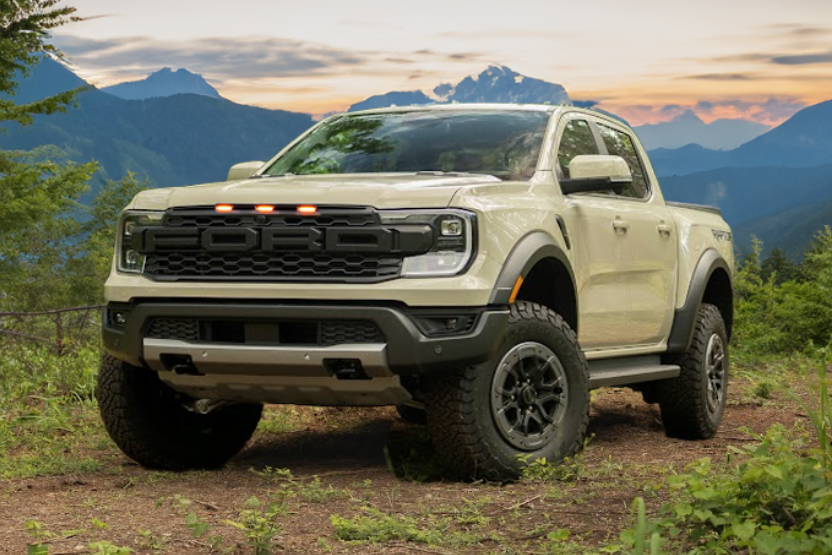
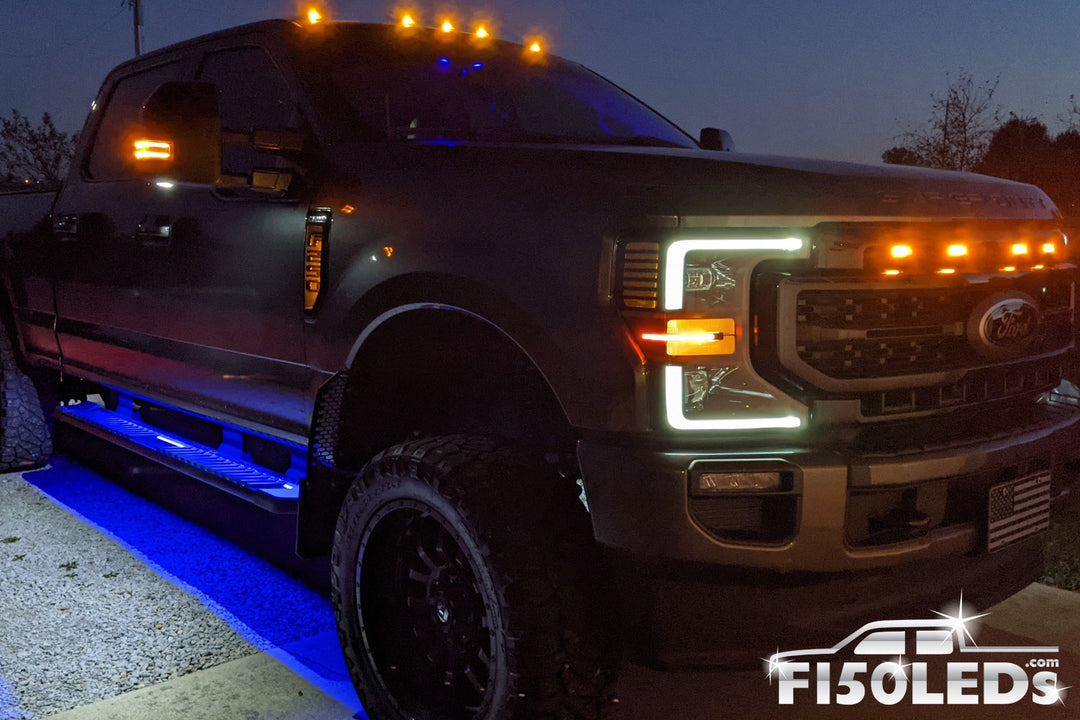
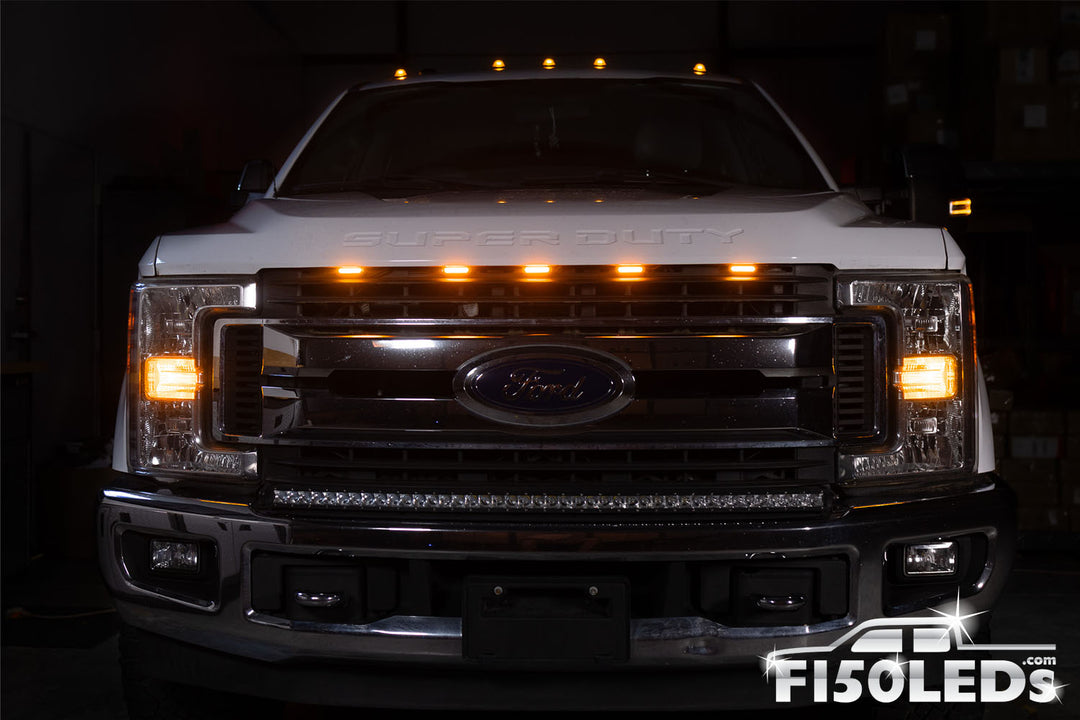
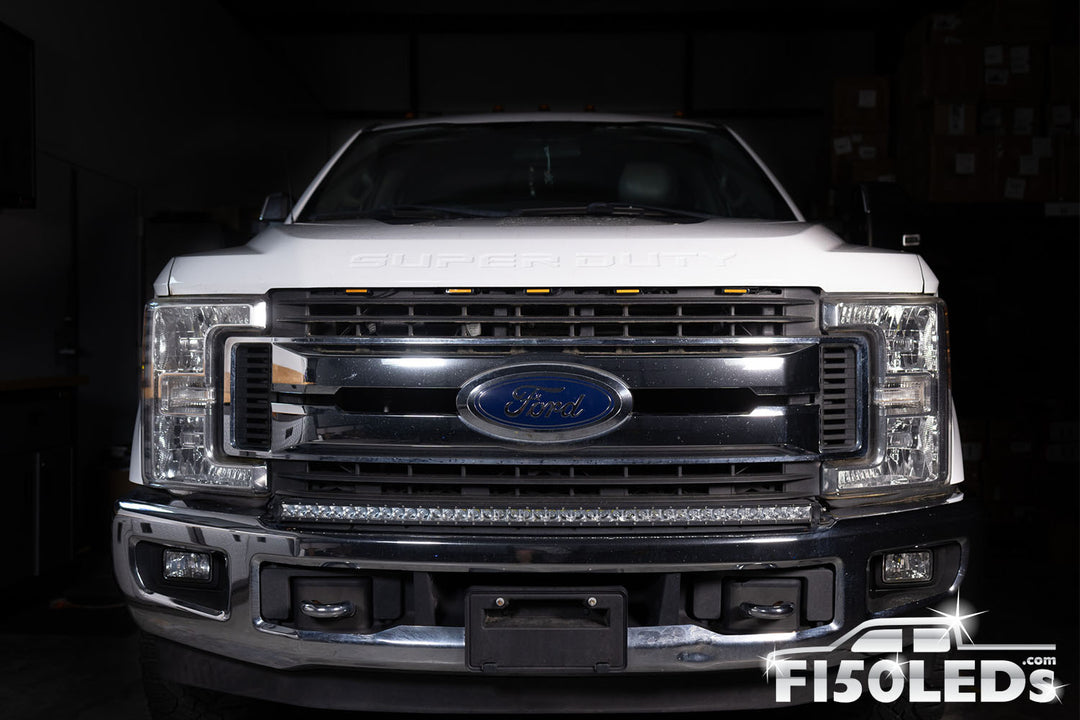
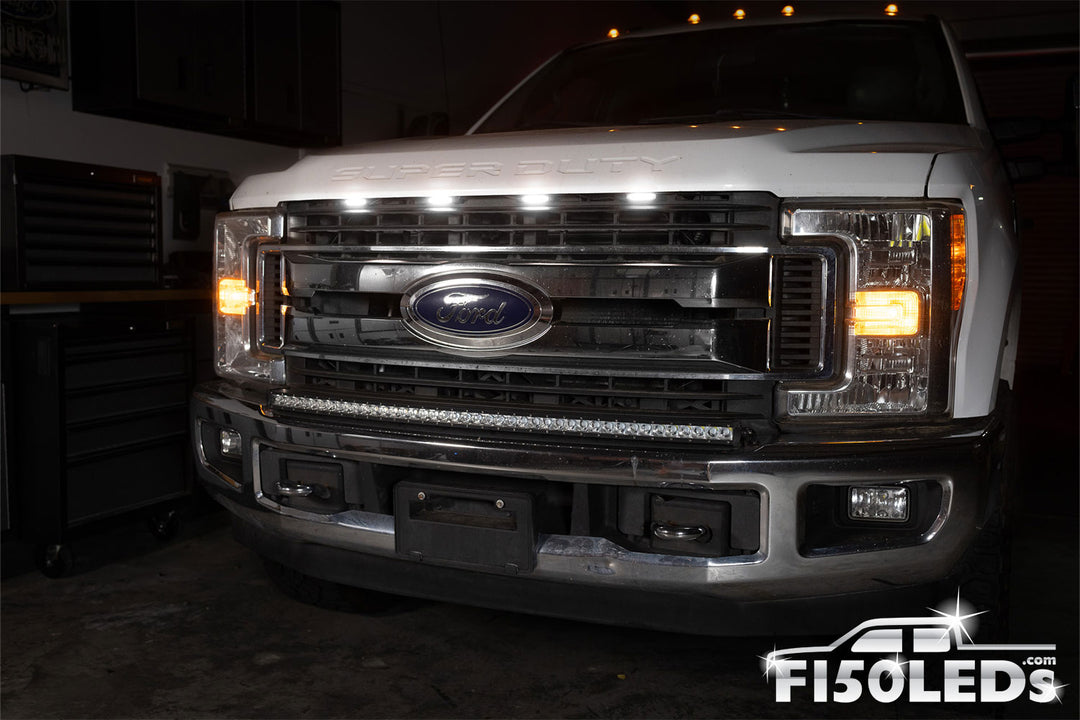
Our 2017, 2018, 2019, 2020, 2021, or 2022 Super Duty Raptor Grill LED Lights are waterproof, shock-resistant, and ultra-bright! They also include everything you need to easily install! Our custom built premium third generation Raptor Style LED grill Lights will improve your safety by making your 17-22 F250 more visible to others as well as give your truck a great aggressive appearance! Our Raptor grill lights will fit on any grill pattern regardless of your Super Duty trim level!
Our Raptor LED Grill Lights are a perfect match for your 12017, 2018, 2019, 2020, 2021, or 2022 Ford Super Duty from an XL trim all the way to the Platinum. Our easy installation method means you are not limited by any difficult to install brackets etc so you get to decide what looks best on your truck! These raptor lights are designed to automatically work in conjunction with your Ford F250s side marker lights and will work on any Super Duty no matter what headlight style or grill type they have equipped.
Don't keep your Super Duty in the dark, It's time for you to Stand out & Shine Brighter with some custom LED raptor Style Grill Lights! Order the absolute best Raptor Style LED Grill lights custom built for your 2017, 2018, 2019, 2020, 2021, or 2022 Super Duty F250 today!
California Residents - Warning: California's Proposition 65
Warranty - Each and every product we offer includes our Full 1-year warranty!