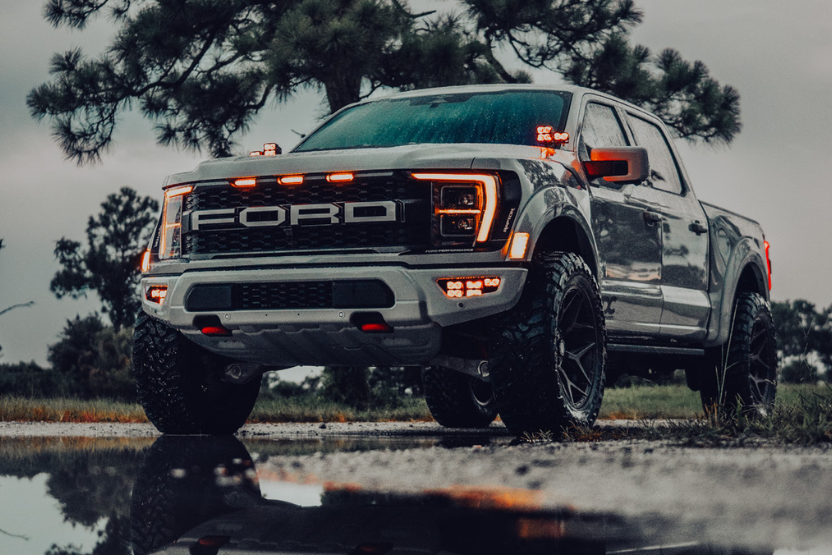
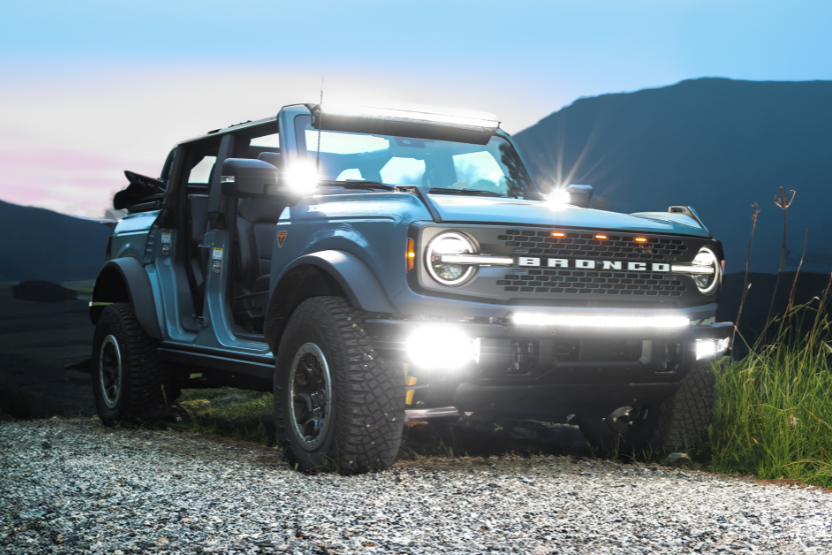
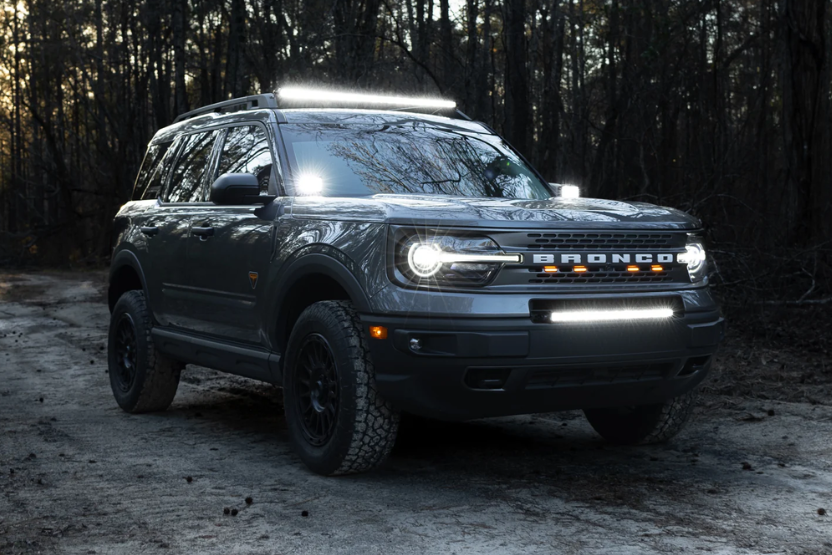
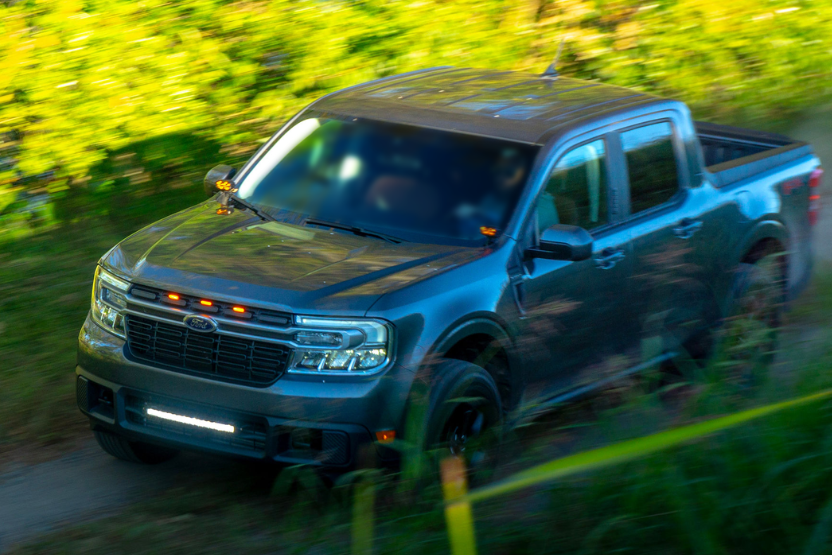
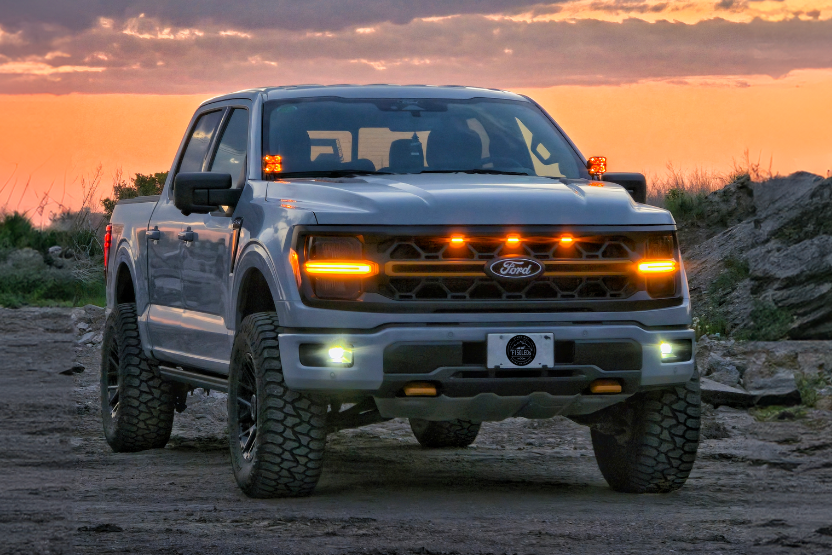
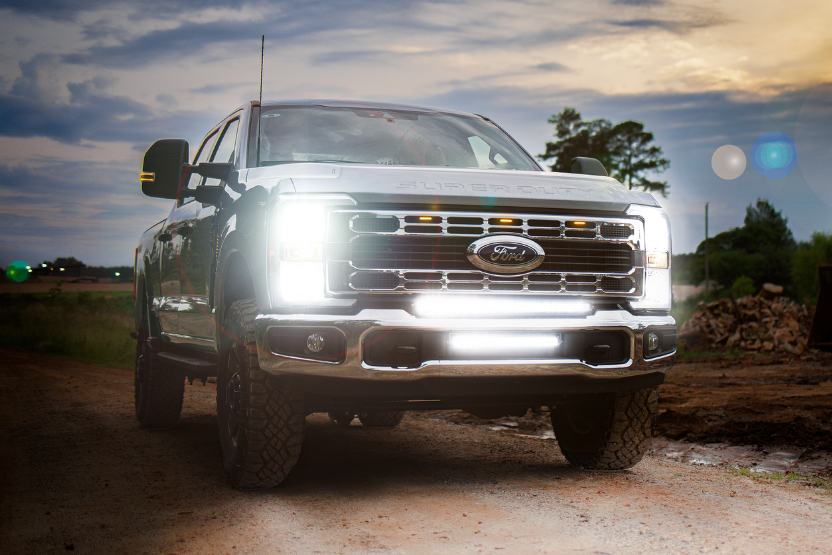
Product Overview
Our Paladin series LED bars utilize 5W CREE XTE LEDs, HPO (Hyper Paladin Optics), a combination of both flood and spot beams, IP68 weatherproofing, slimline curved design, blackout hardware, custom mounting brackets and matching IP68 heavy-duty harness kits.
Everything you need to stand out & shine brighter with your custom LED bar is included. Install is very easy and we guarantee you will be impressed!
What's Included
- 90W 20" Curved Paladin series CREE LED bar
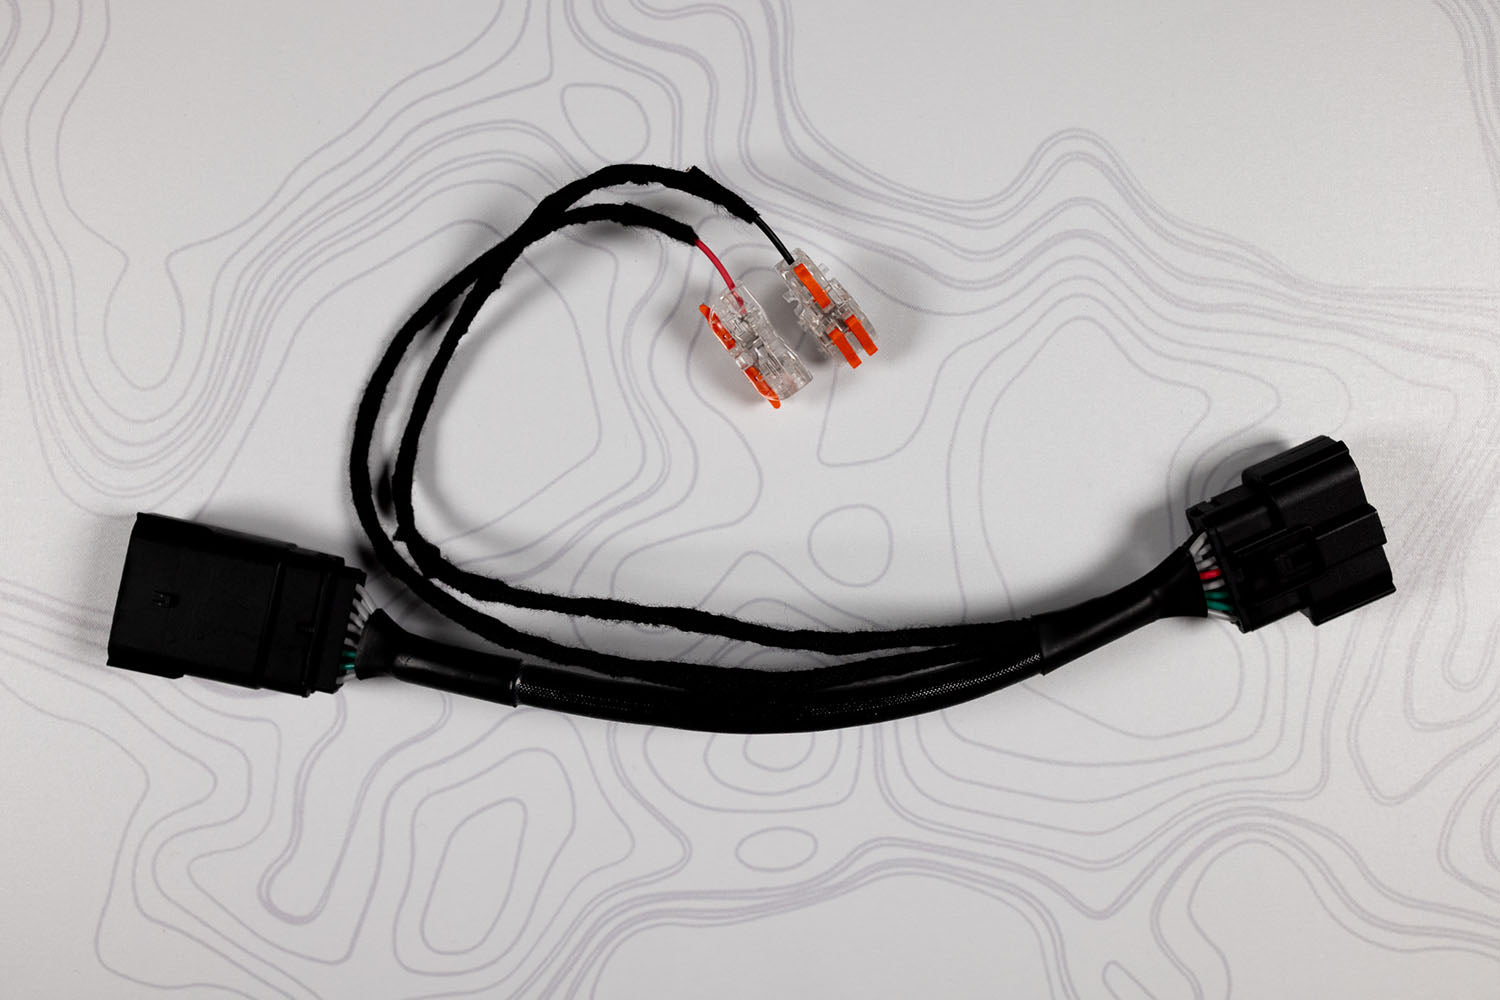
- Fully braided custom harness with built-in relay
- All necessary mounting hardware & custom brackets
More Details
- CREE XTE 5W LEDs, each LED capable of approx 624 TRUE lumens
- TRUE Lumen Output: Multiply LED count by 624
- Voltage:9-60V DC
- TRUE Luminosity output: Approx. 12,000 lumens
- Waterproof rate: IP 68
- Color Temperature: 6500K
- Material:Diecast Aluminum-alloy Construction
- Lens material: PC
- Mounting Bracket: Stainless steel bracket
- Beam Pattern: Paladin Long Range Optic w/ Wide Light Display Arc
- Life rating:50,000 Hrs