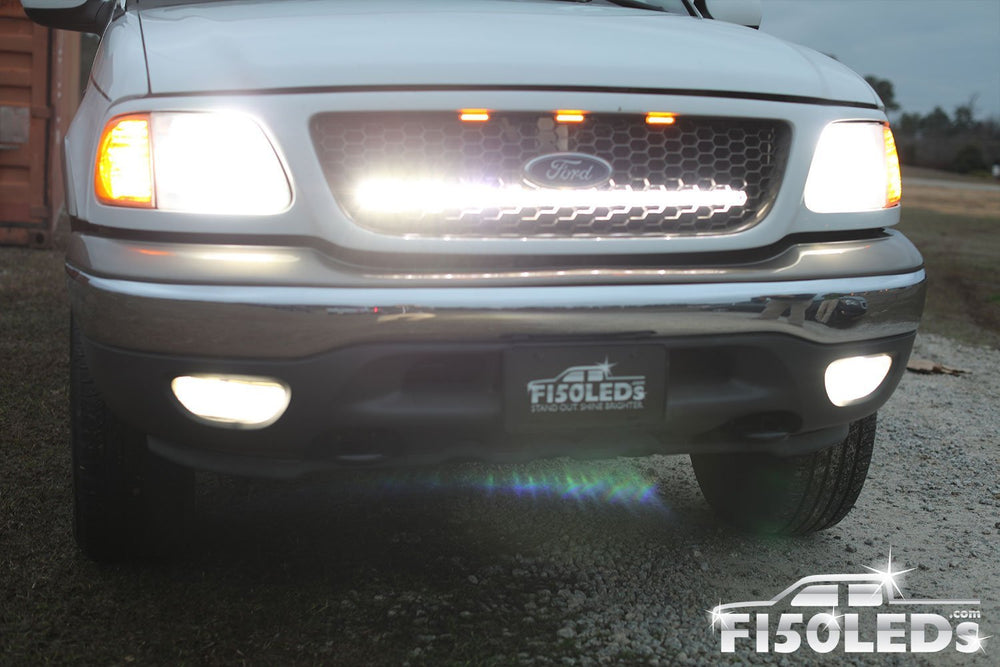

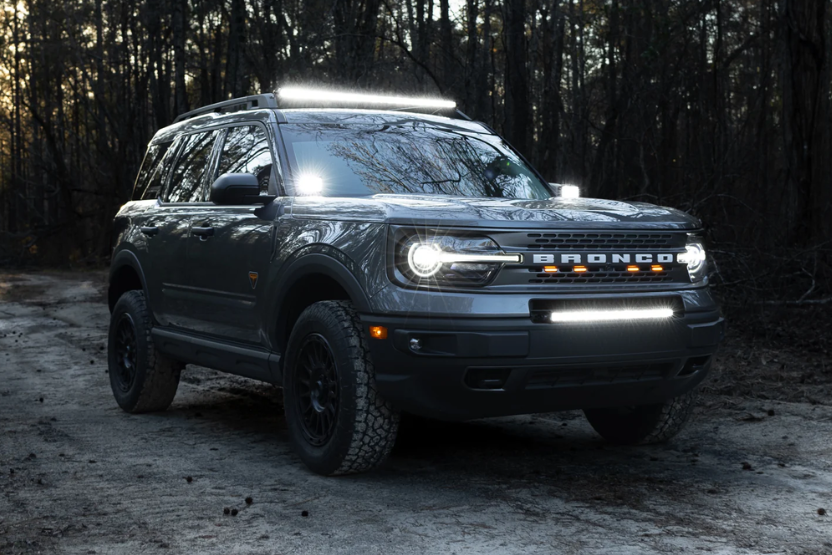
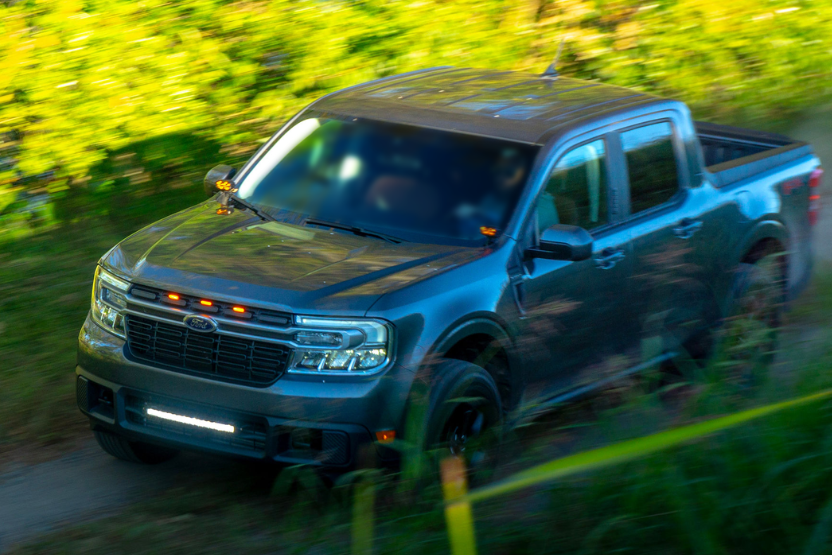
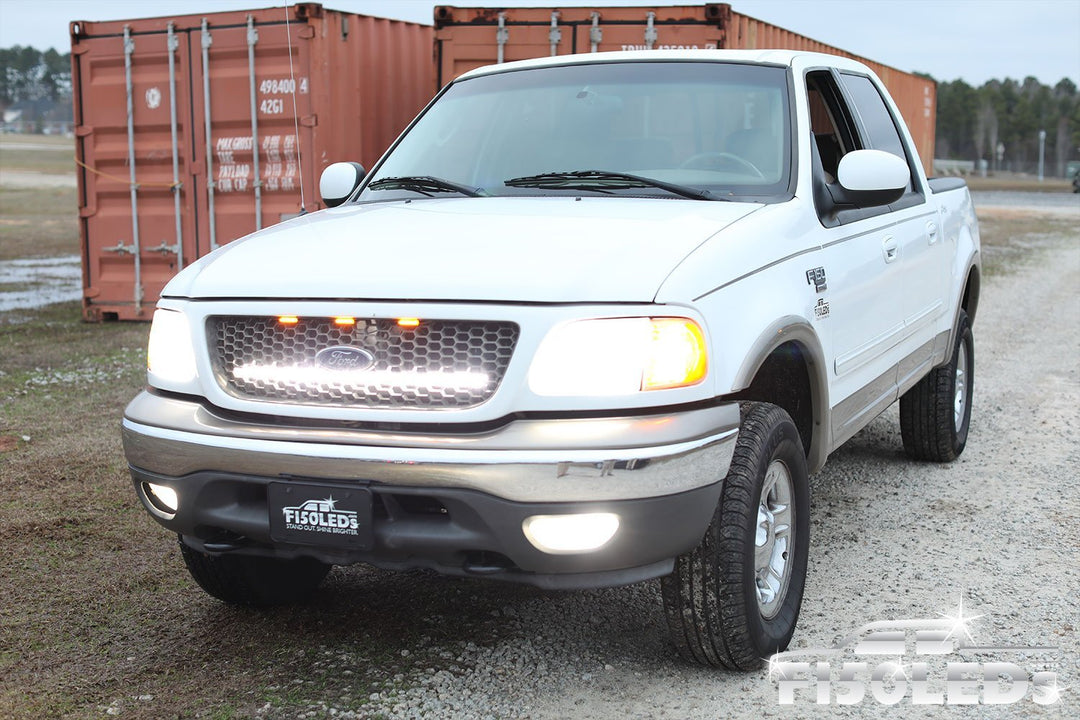


Upgrade your F150 experience by equipping your 1997-2003 F150 with our Paladin Series LED Bar. See further, stand out & shine brighter with our next generation of CREE XTE 5W high performance LED bars! If you are looking to add something awesome to your 1997-2003 F150 then this LED bar is a great option. It's easy to install and will make an immediate difference to how you drive at night. Light up the night, make yourself safer and give your F150 a cosmetic upgrade by adding a F150LEDs Paladin bar!
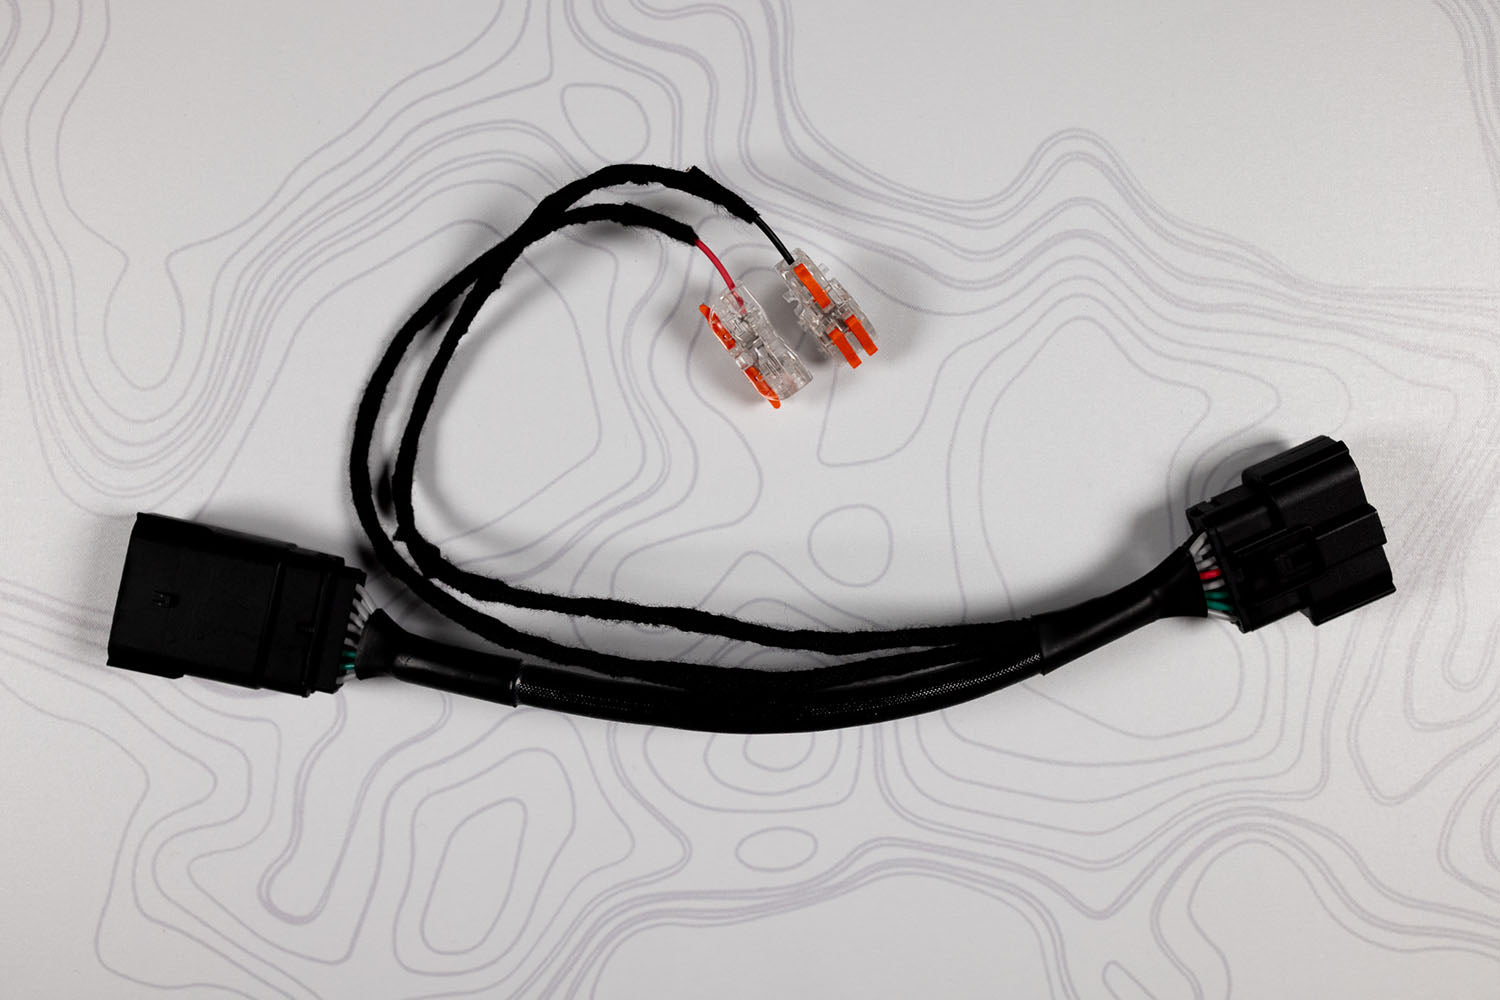
Our Paladin series LED bars utilize 5W CREE XTE LEDs, HPO (Hyper Paladin Optics), a combination of both flood and spot beams, IP68 weatherproofing, slimline curved design, blackout hardware, custom mounting brackets and matching IP68 heavy-duty harness kits.
Everything you need to stand out & shine brighter with your custom LED bar is included. Install is very easy and we guarantee you will be impressed!
California Residents - Warning: California's Proposition 65
Warranty: Each and every product we offer includes our Full 1-year warranty!