×
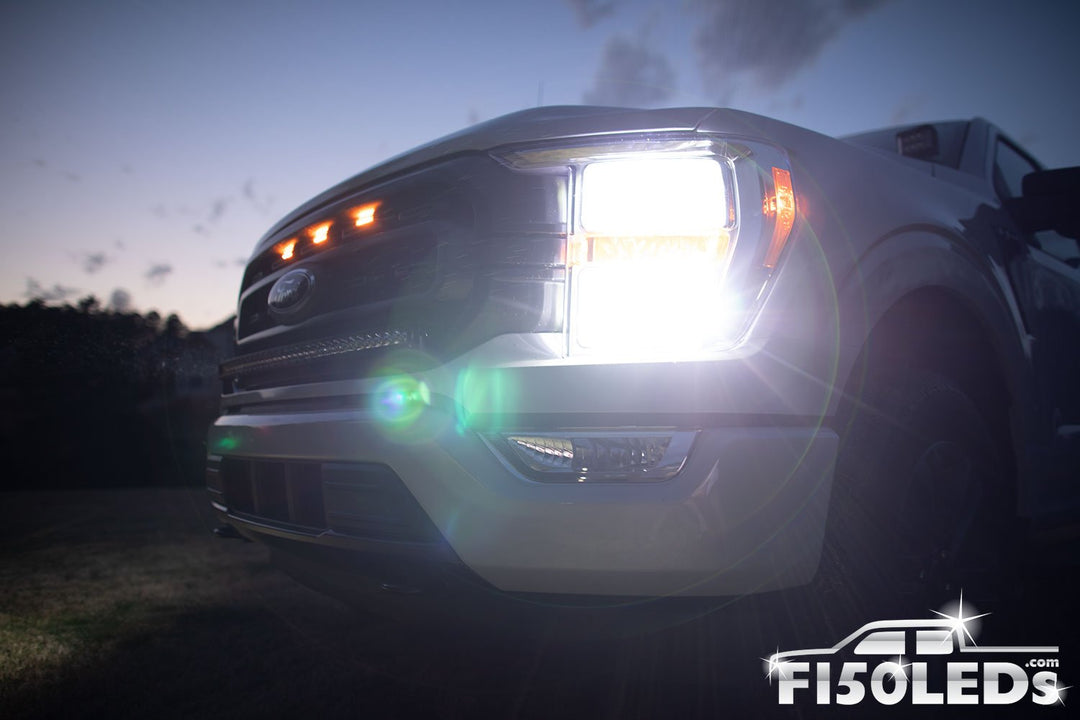
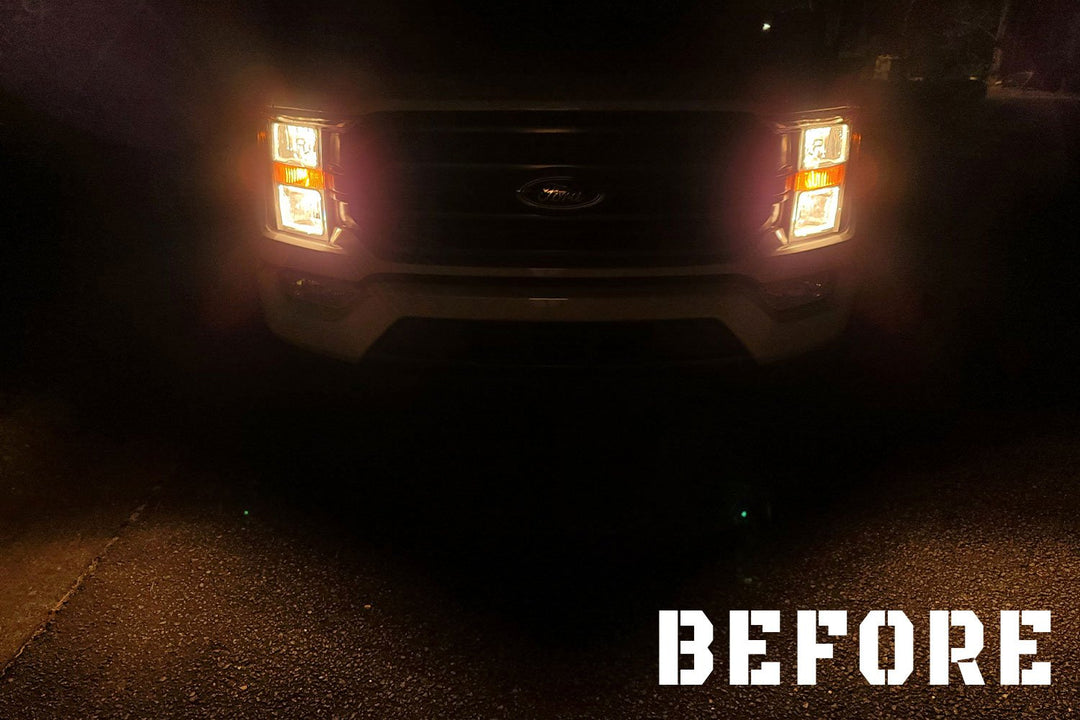
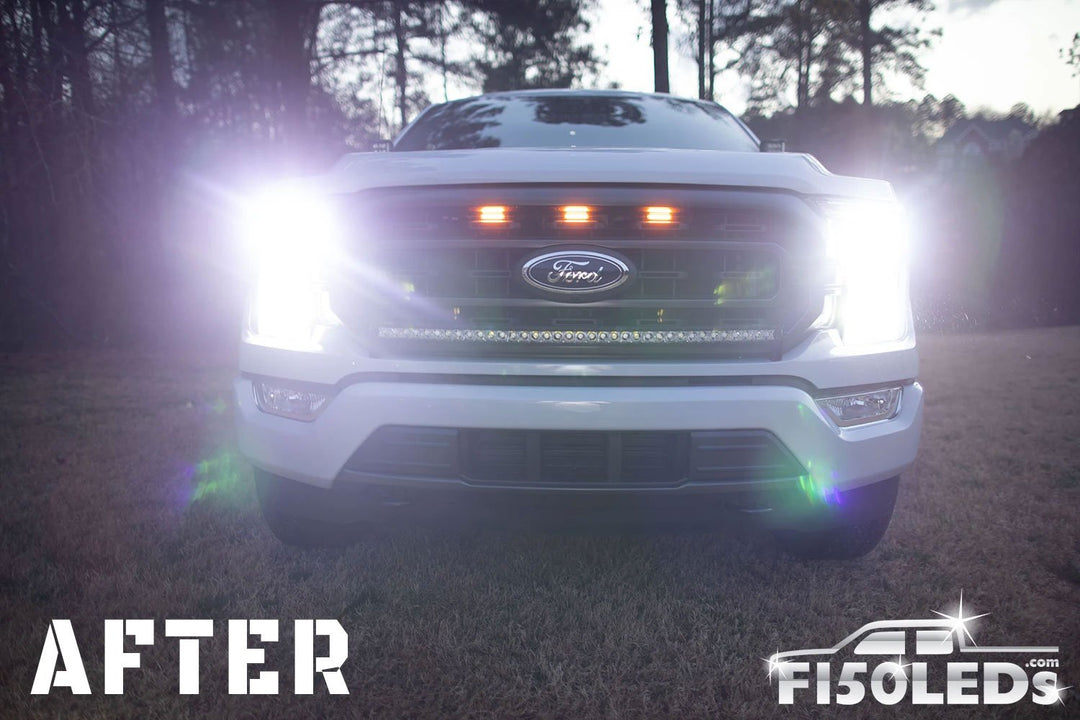
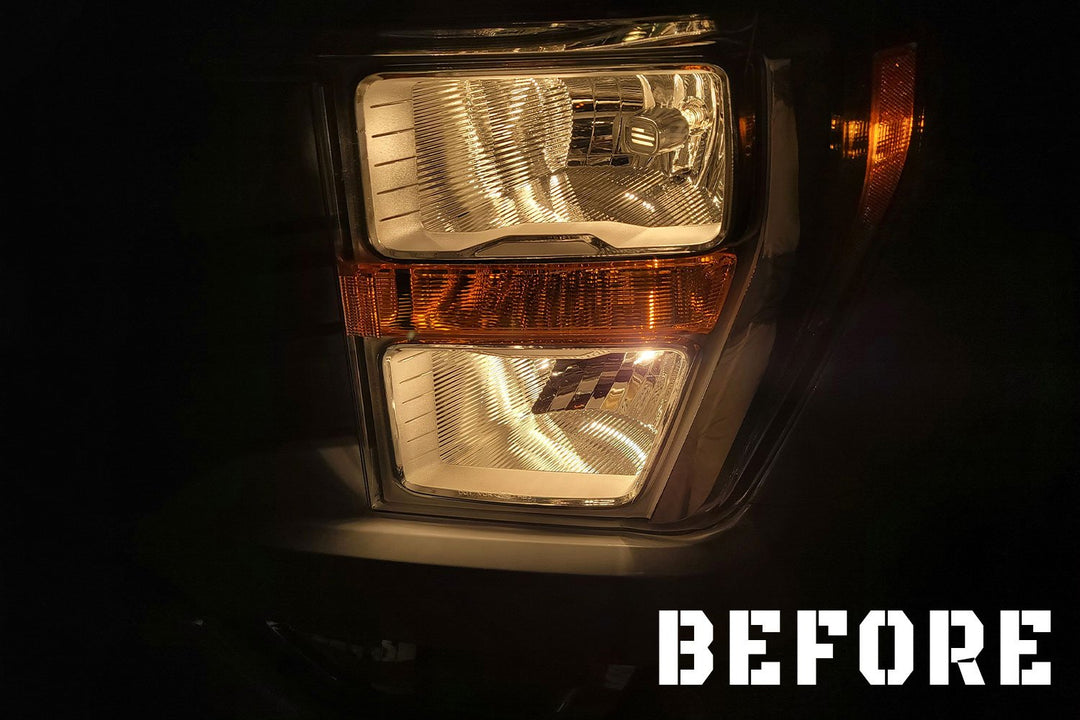
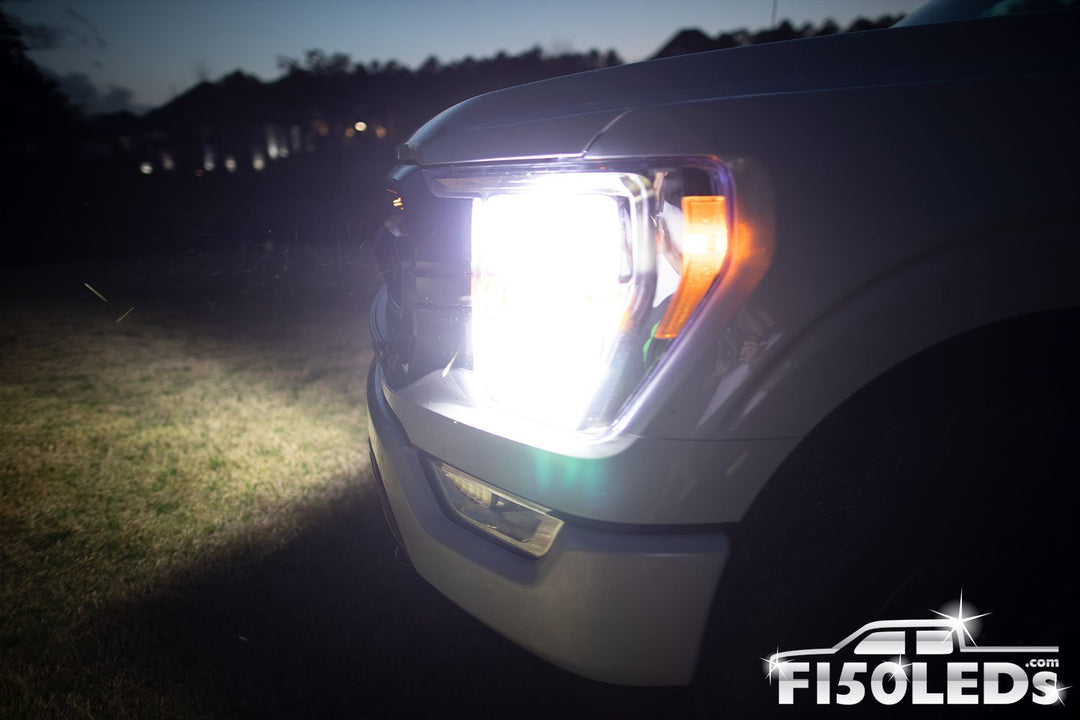
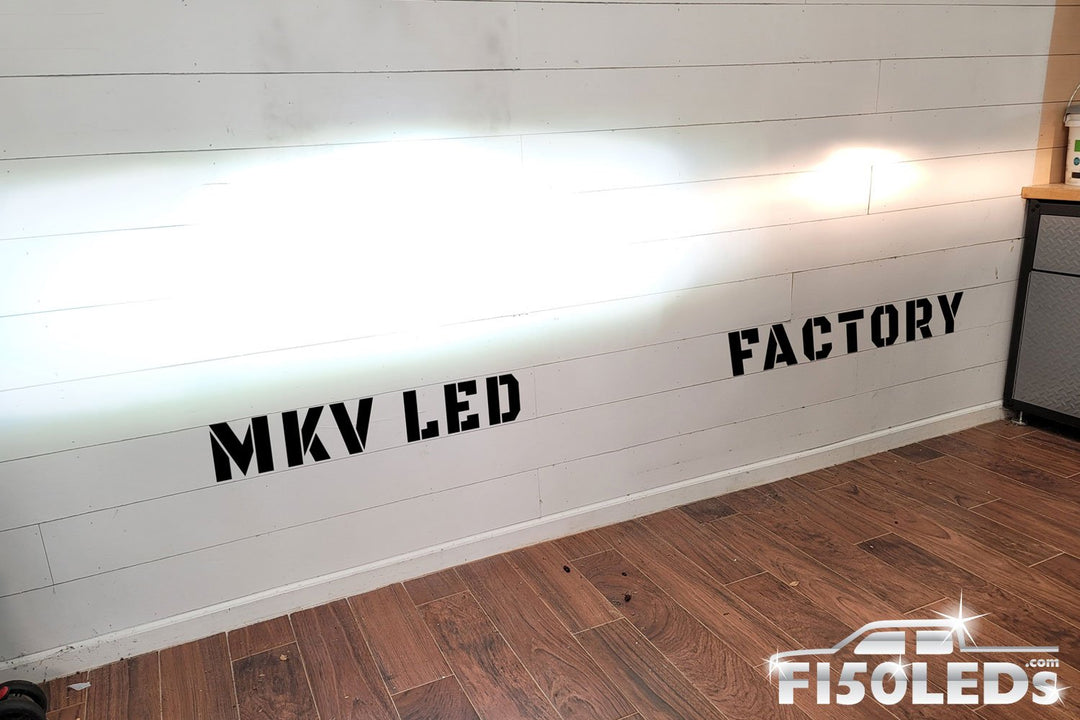
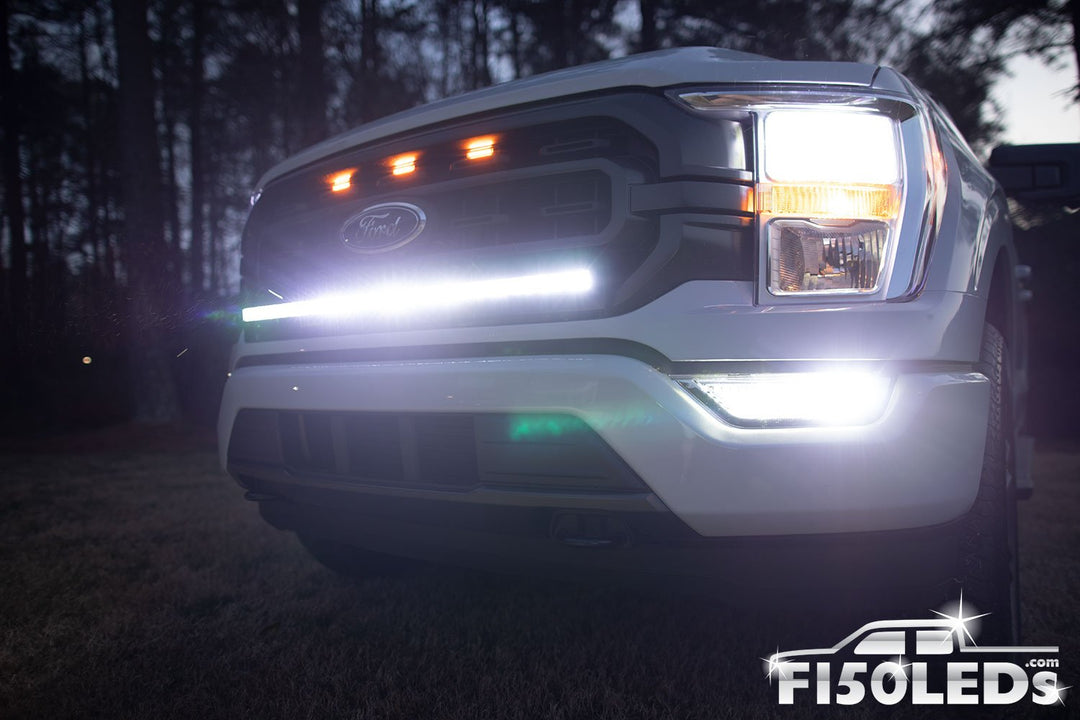
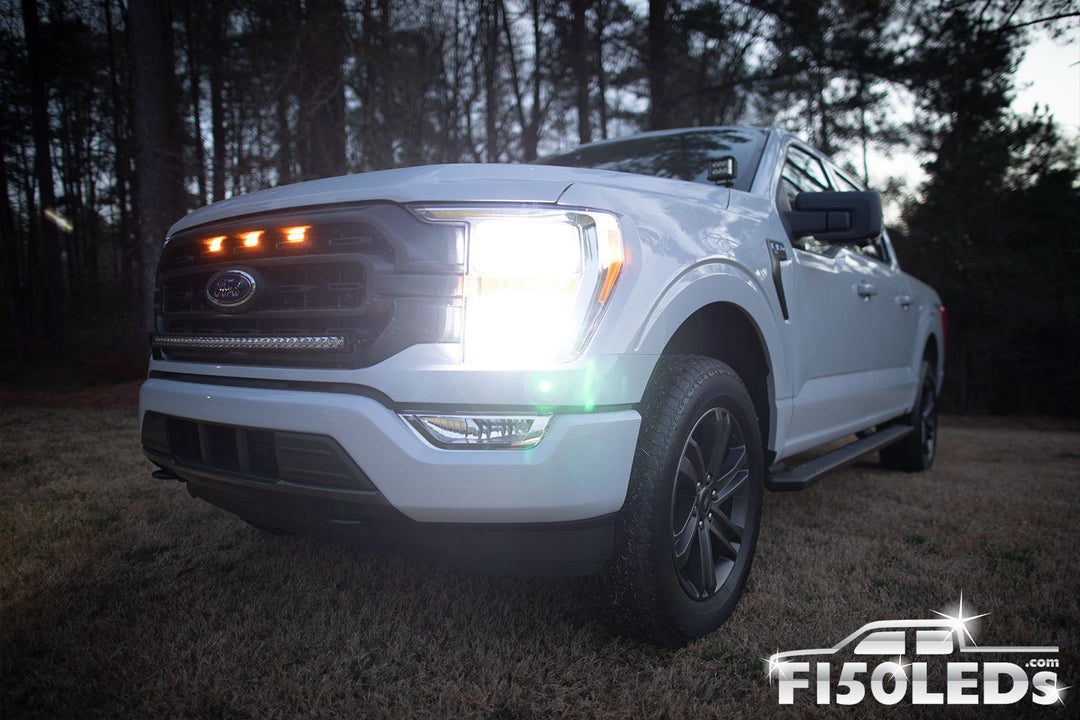
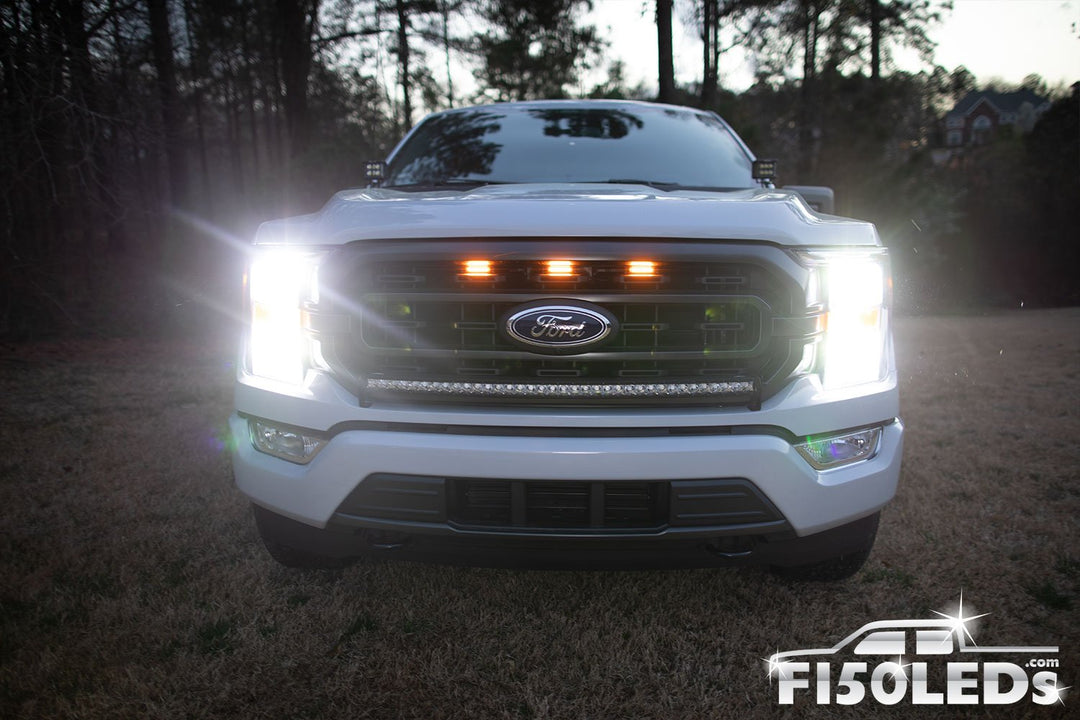
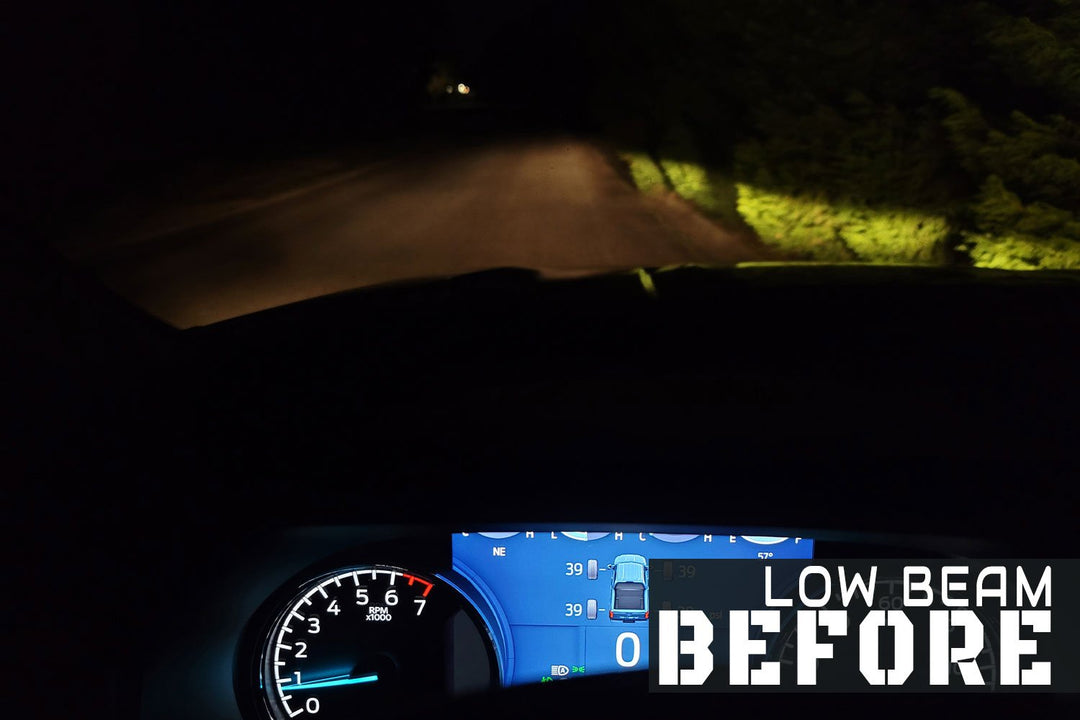
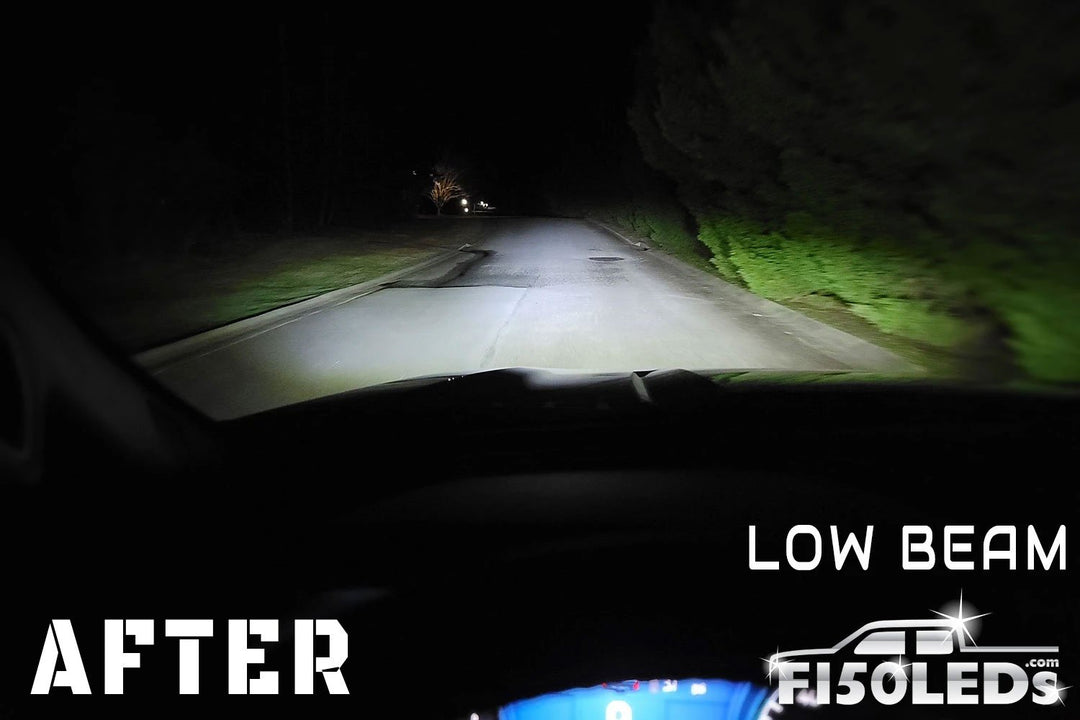
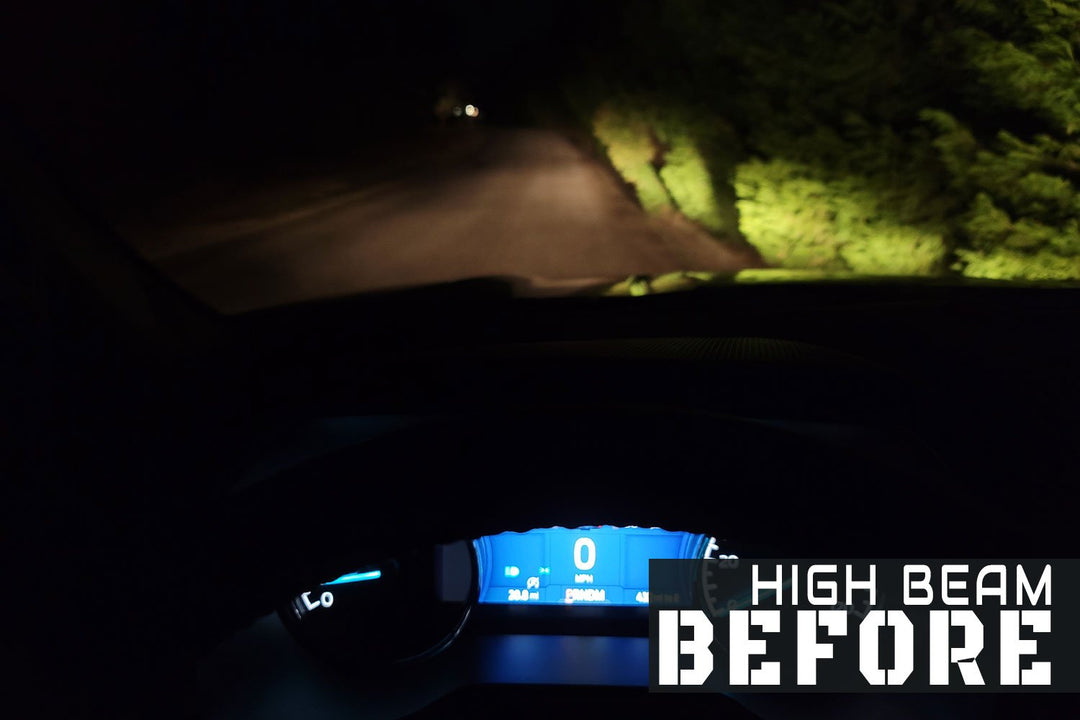
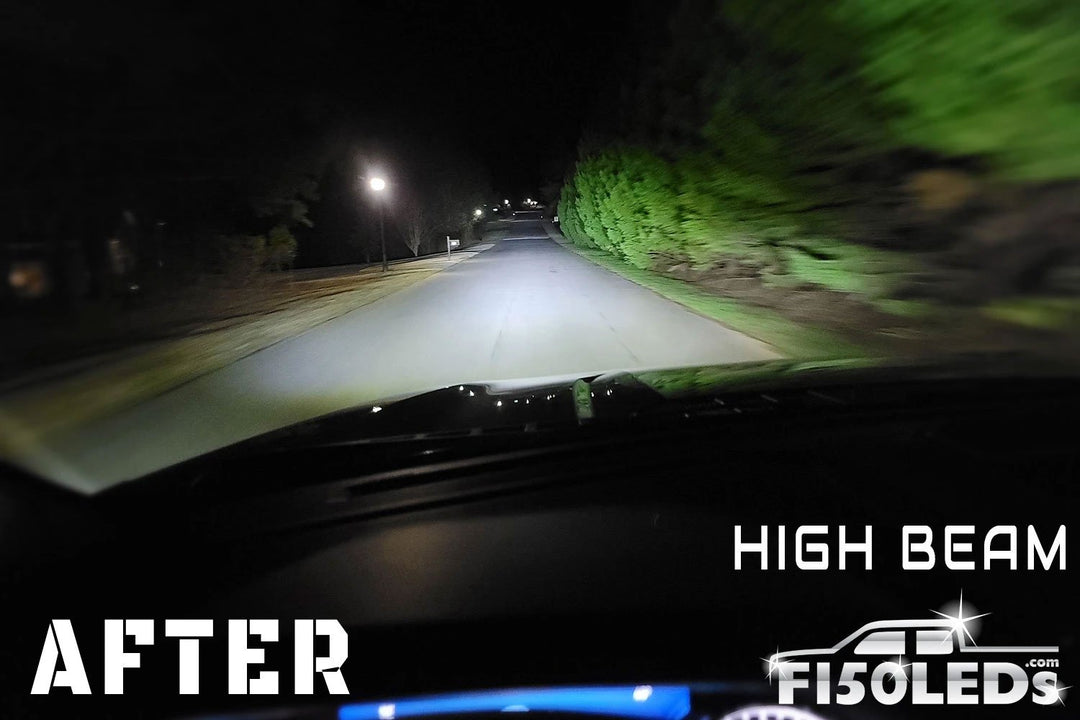
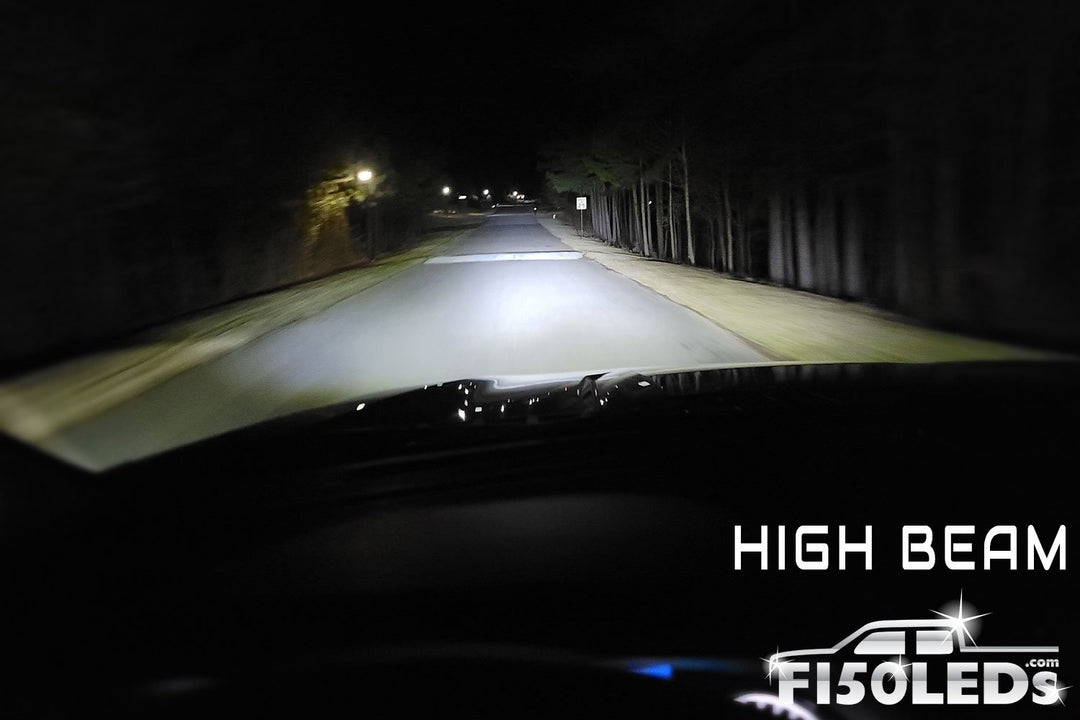
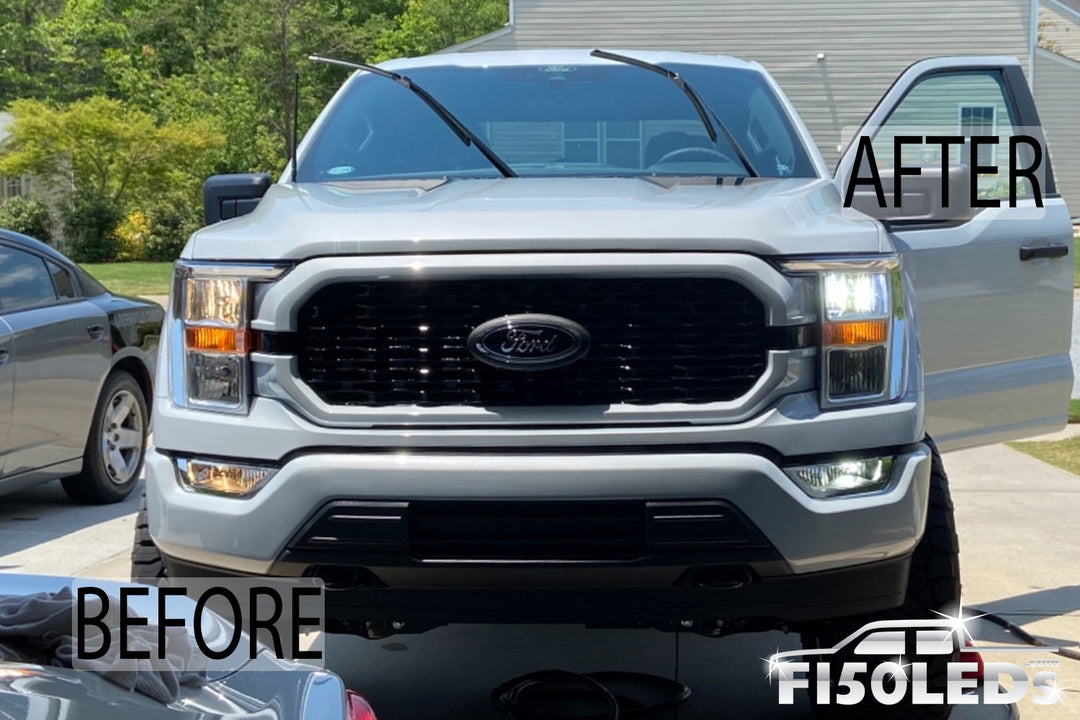
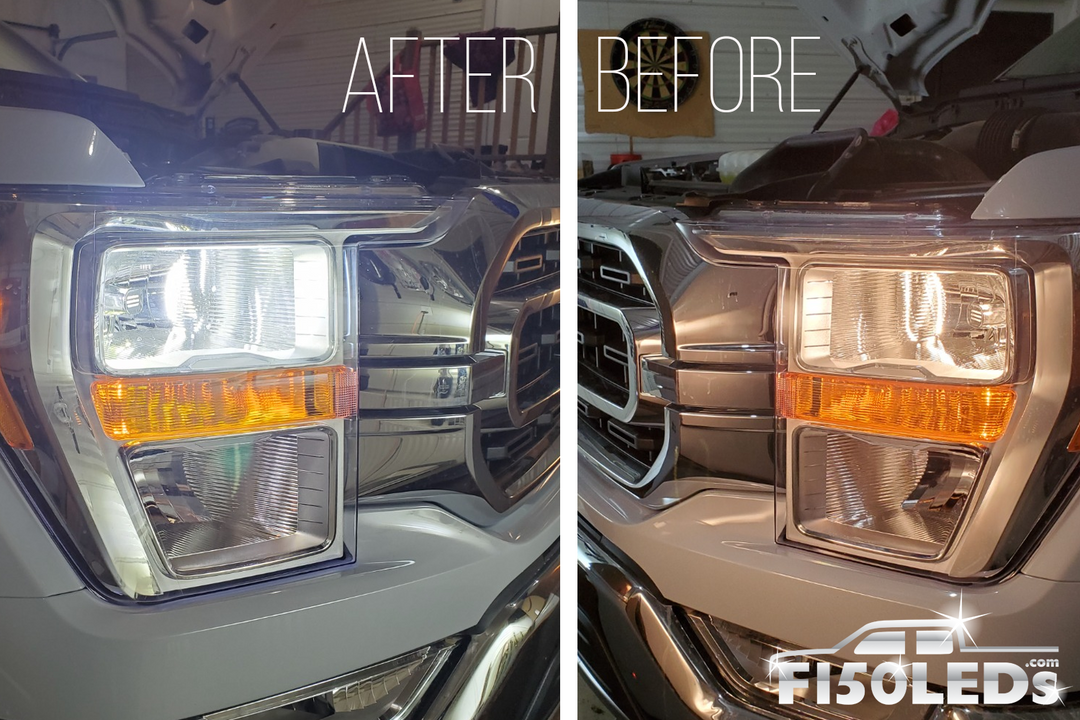
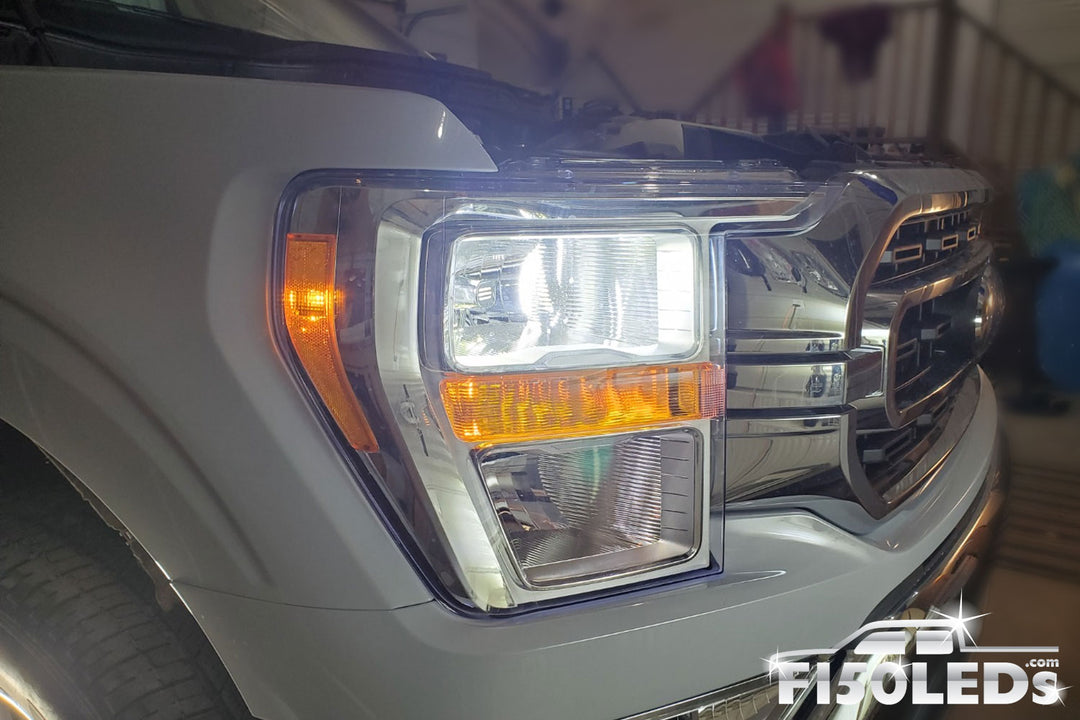
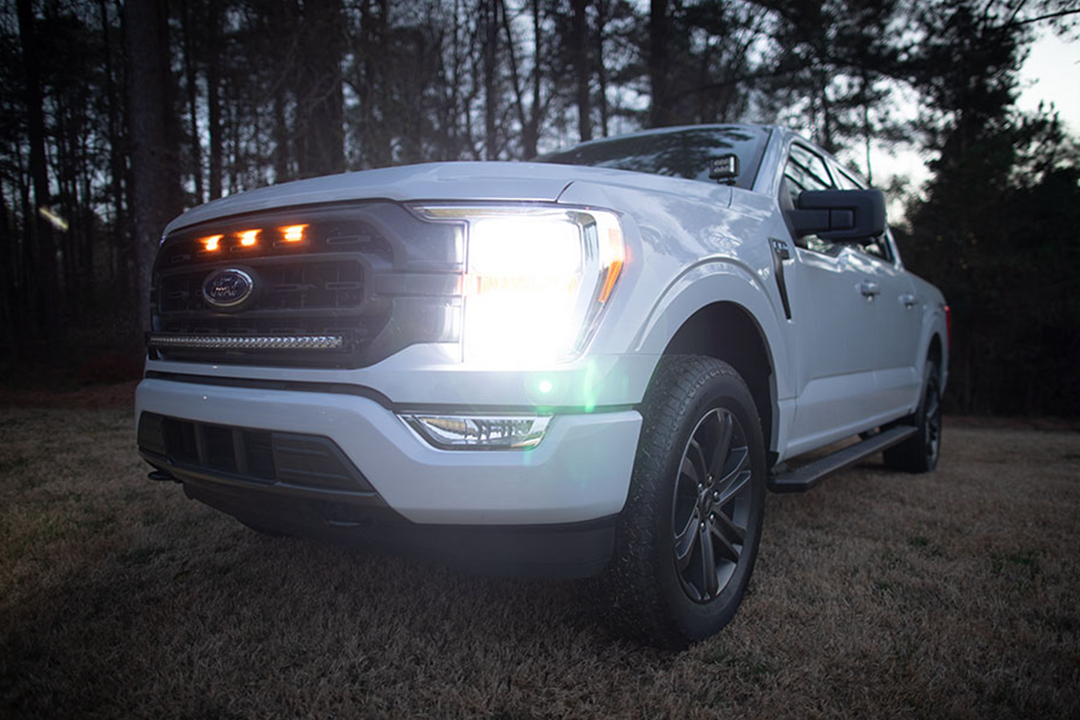
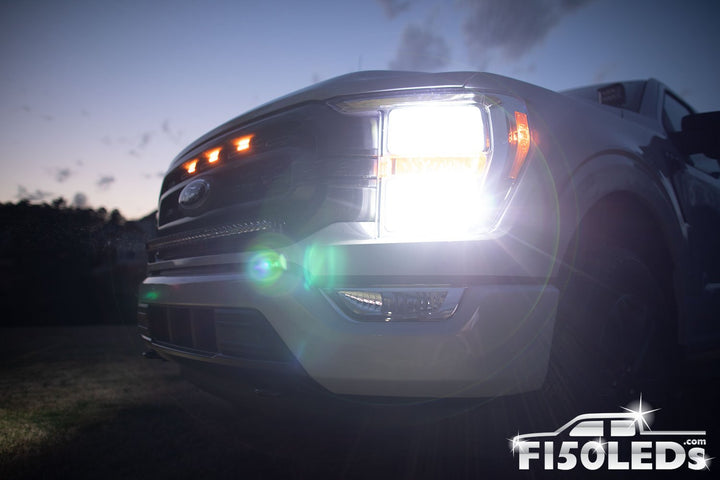
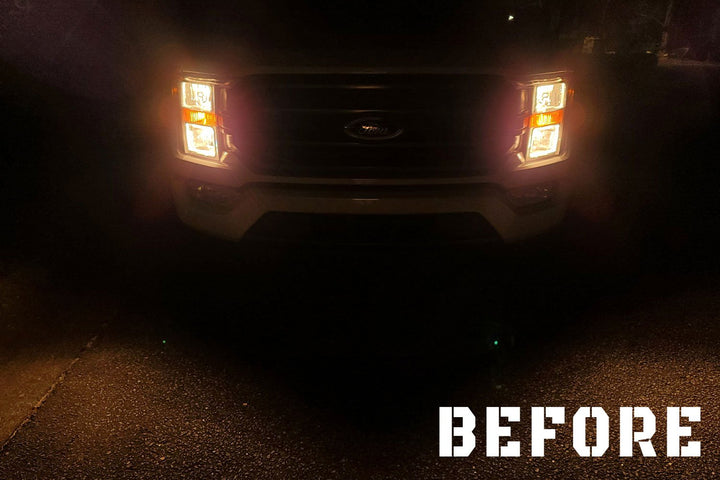
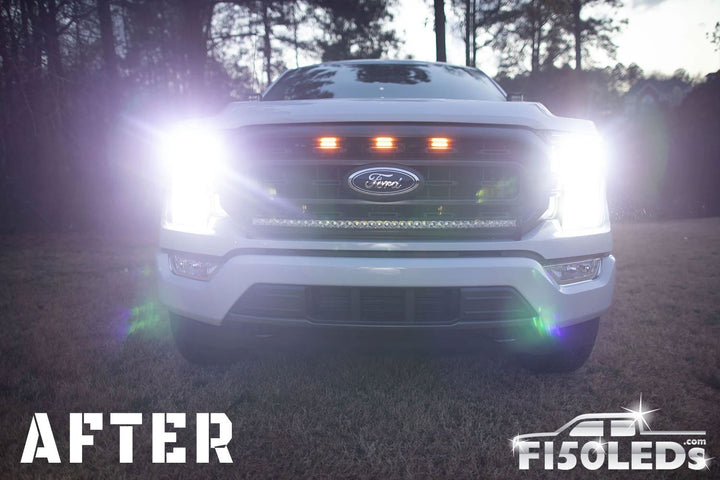
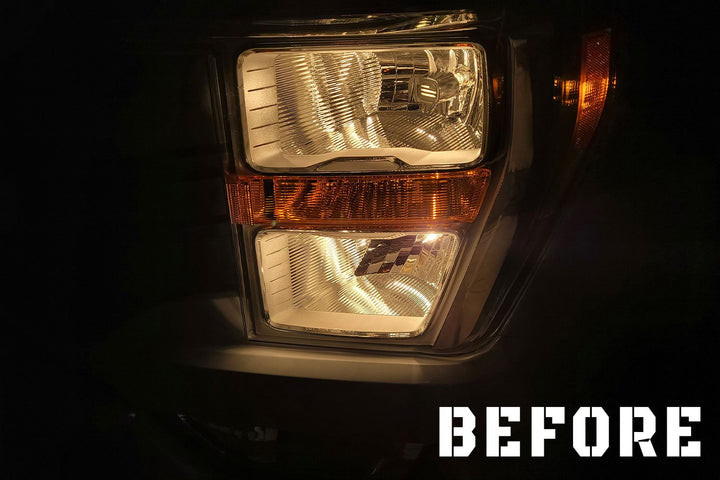
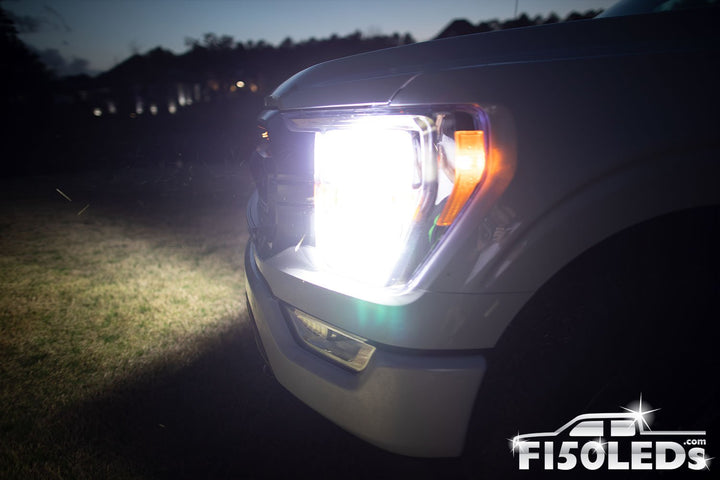
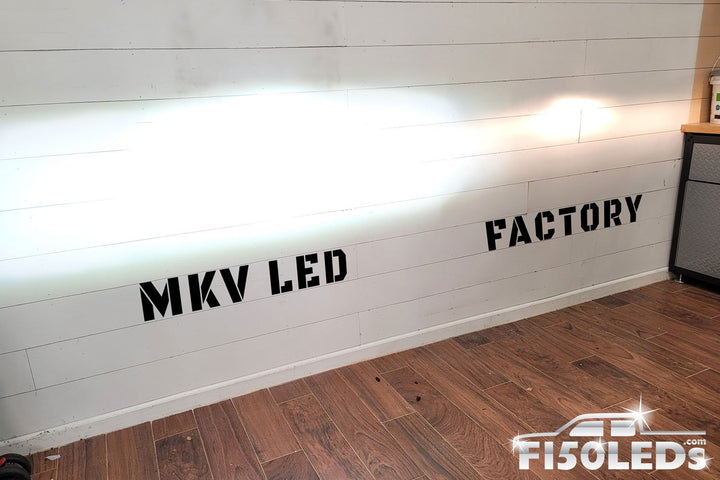
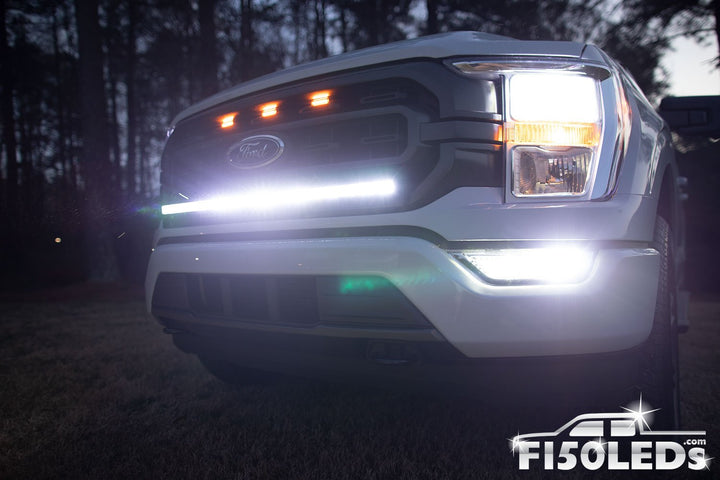
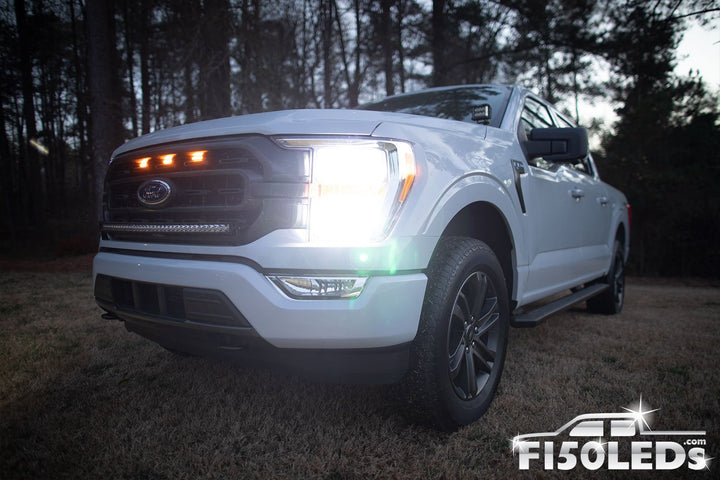
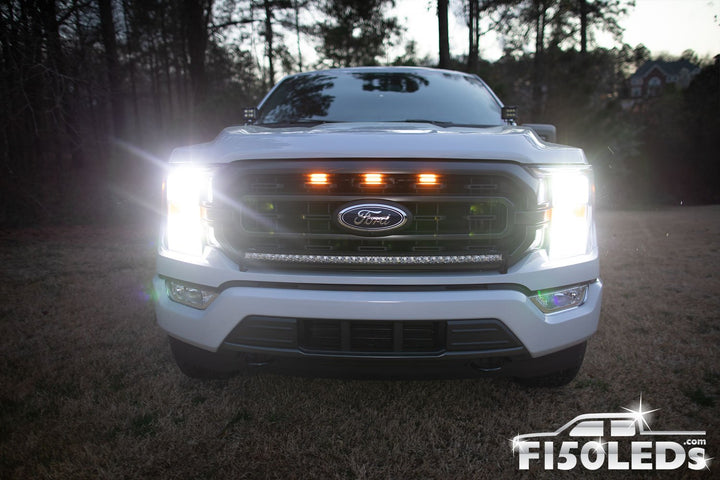
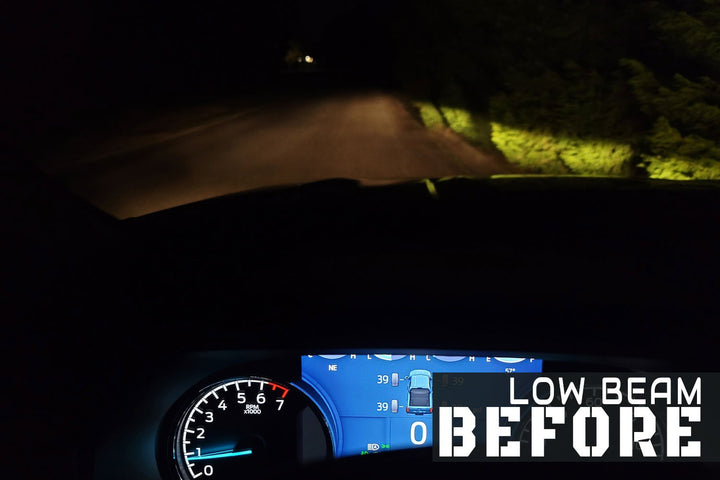
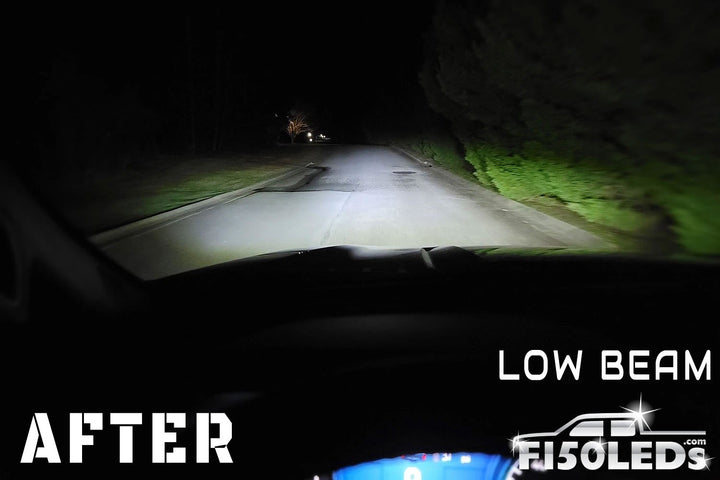
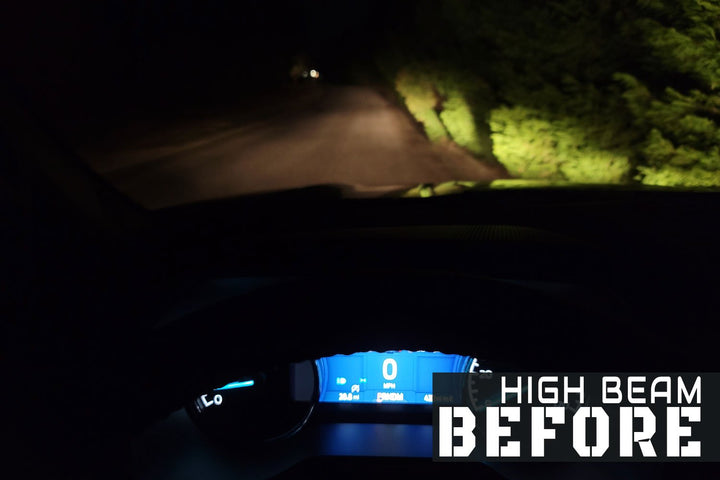
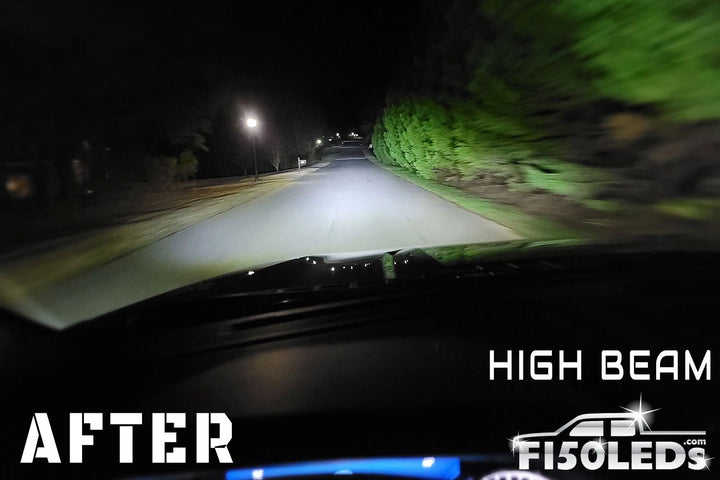
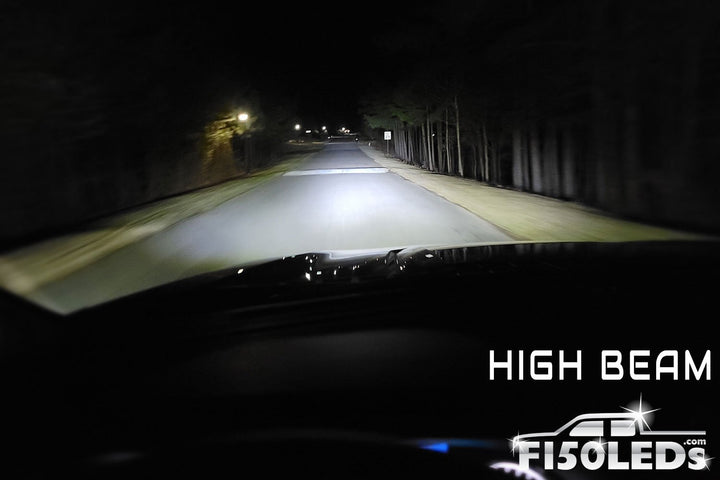
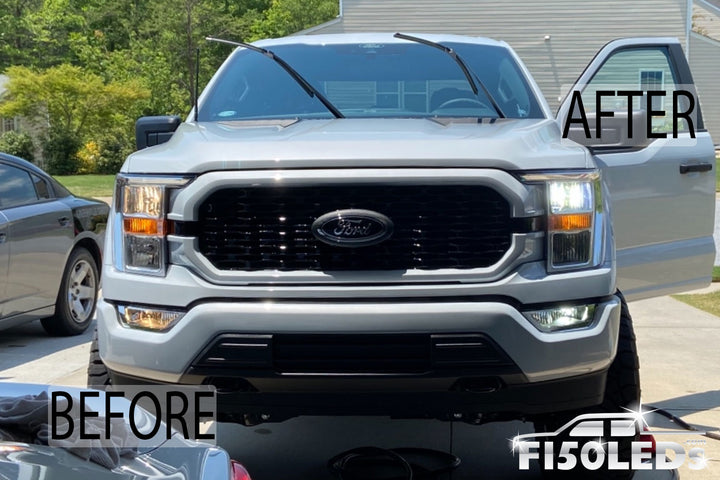
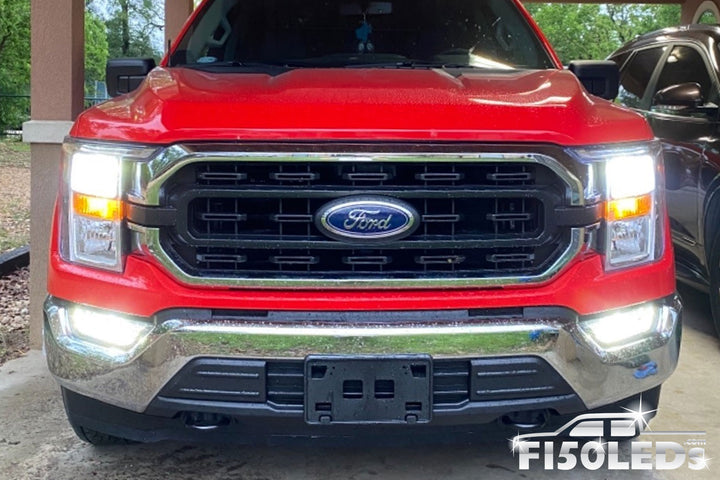
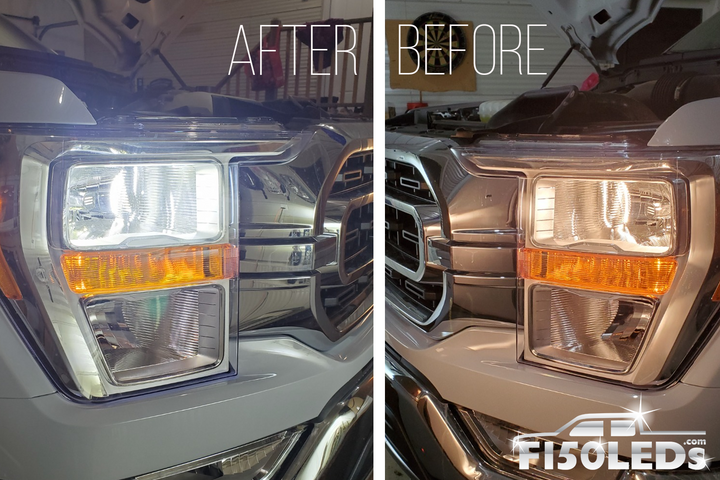
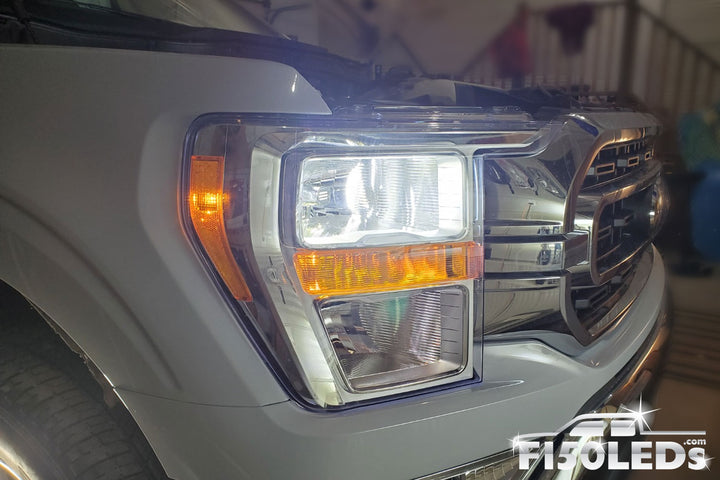
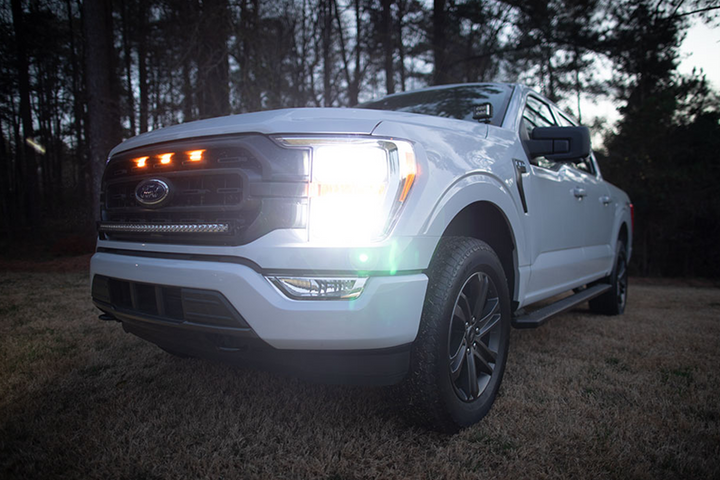
Hey guys, it's Nick from F150LEDs.com. Today we've got a 2021 Ford F150 here in the shop. And we're showing you how to swap out those dim, dingy halogen headlights with our CREE XHP 70.2 MK5 LED Headlight system. This system is going to greatly improve your driving experience and your Ford F150 is going to give you a much greater range of light as far as width, and it's also going to improve the clarity of what you're seeing where that light hits. So even in that short term range, where that factory halogens can reach using these LEDs, you're going to be able to much better see what is in that area. So it's going to greatly improve your driving experience and performance in those early mornings, late evenings, and of course at night as well. Plus, it's going to make you and your family safer because other traffic is going to be able to better notice and see your truck.
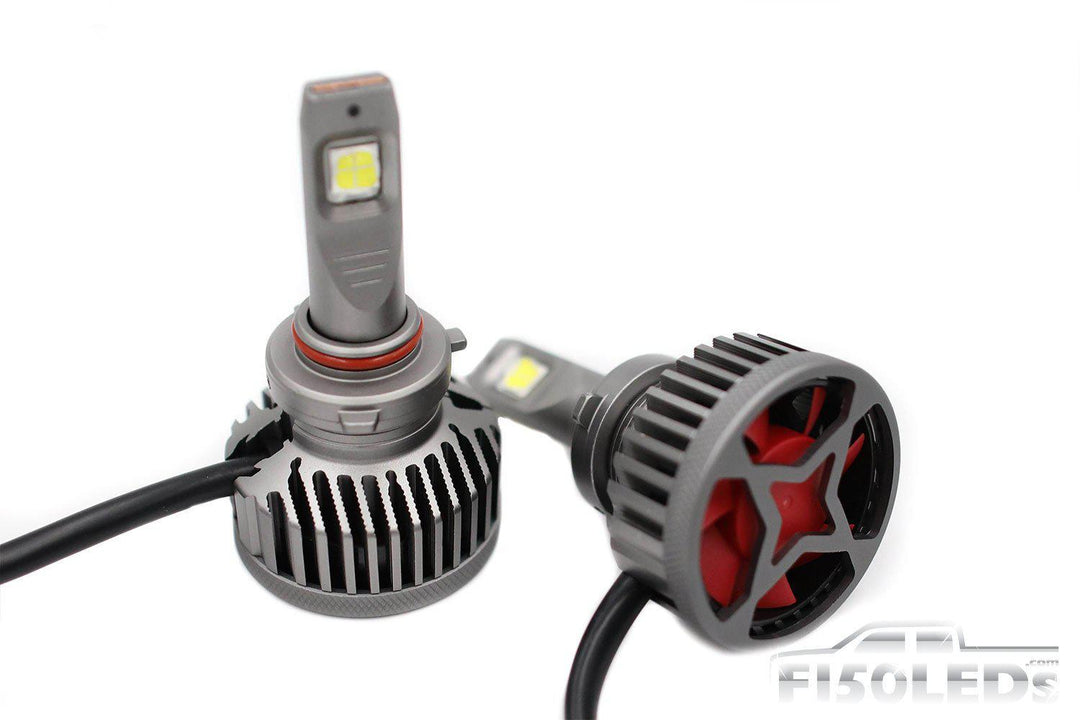
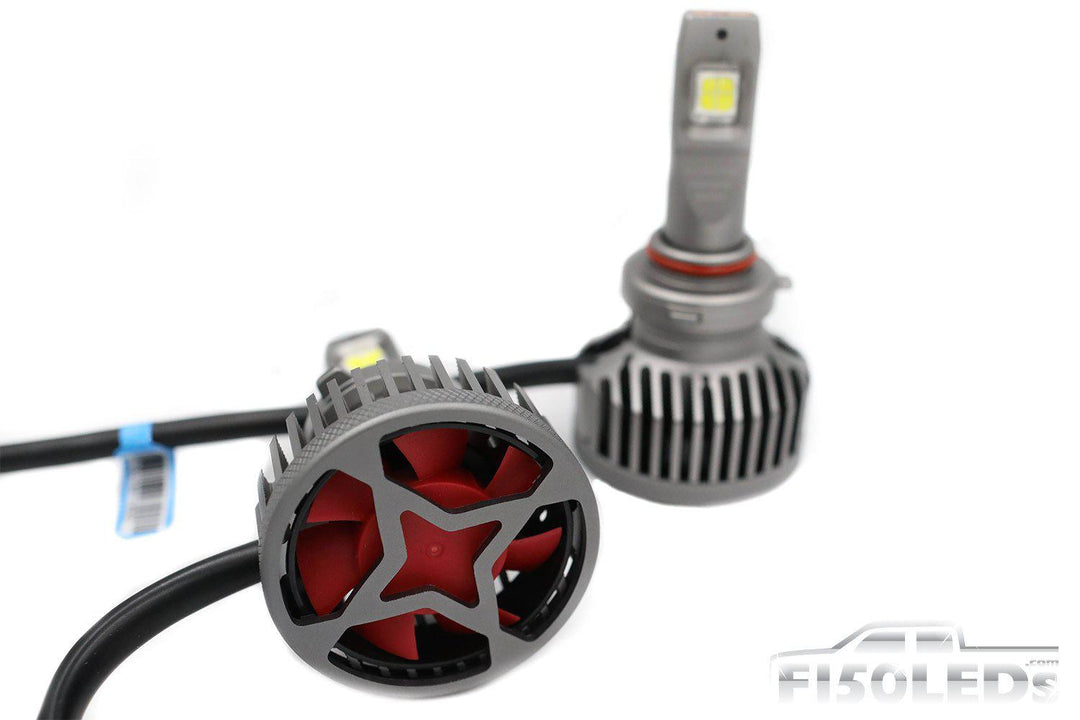
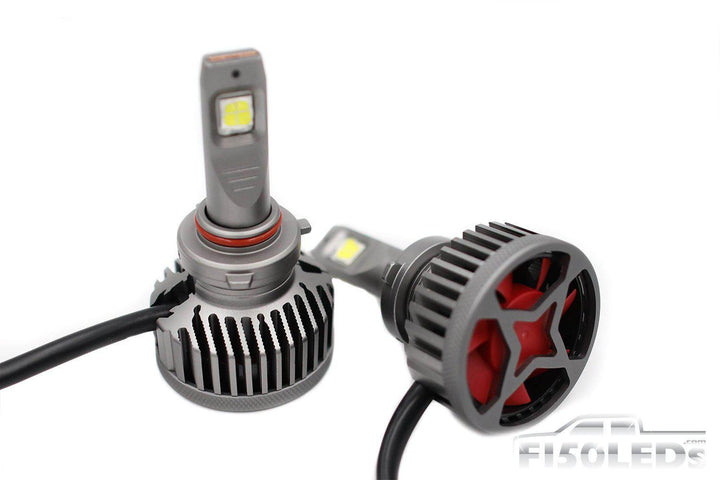
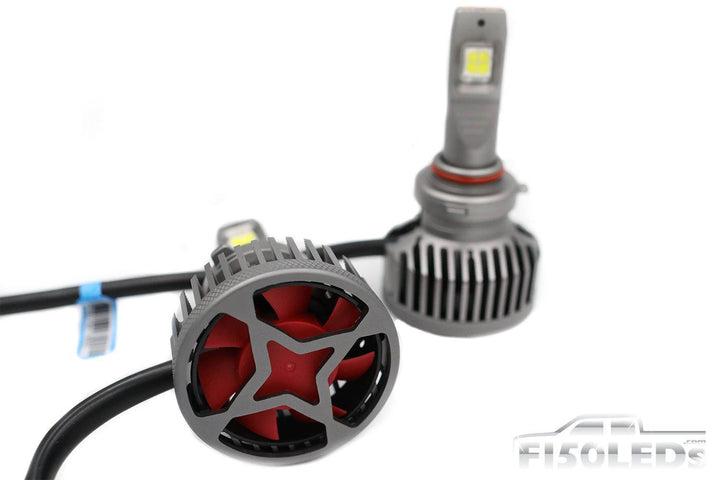
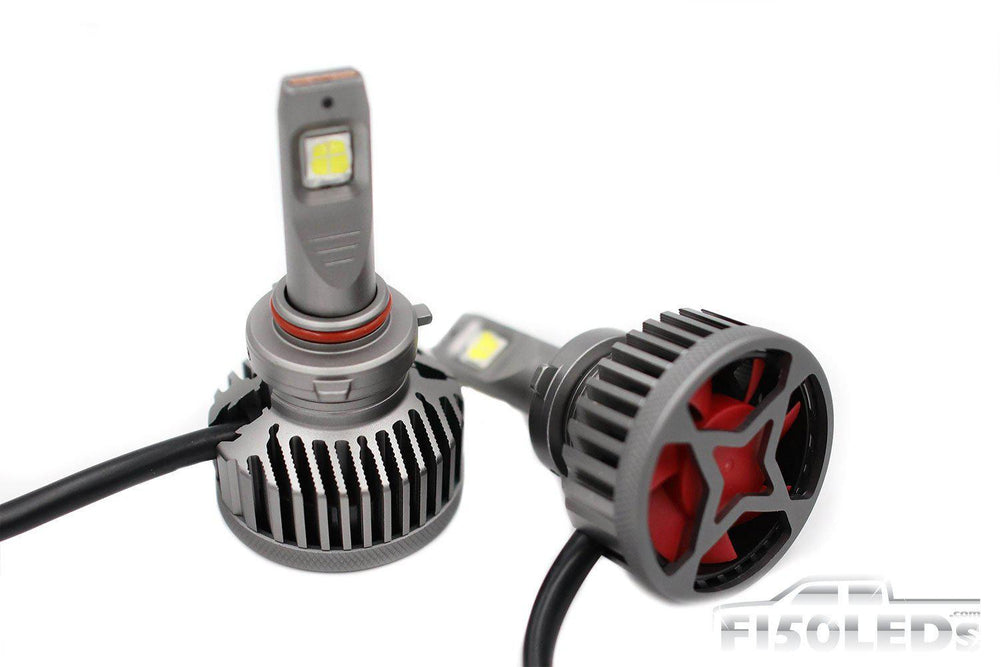
The F150LEDs.com MK5 headlight system is the culmination of years of product research and design. We've opted to go with a CREE XHP series LED. They're either equipped in a quad XHP50 system or a dual XHP70 system. Now these XHP70 LEDs are rated at four to 4,500 lumen output alone. So you're going to be really cranking out some light somewhere in the ballpark of 9,000 raw lumen capability here per headlight.
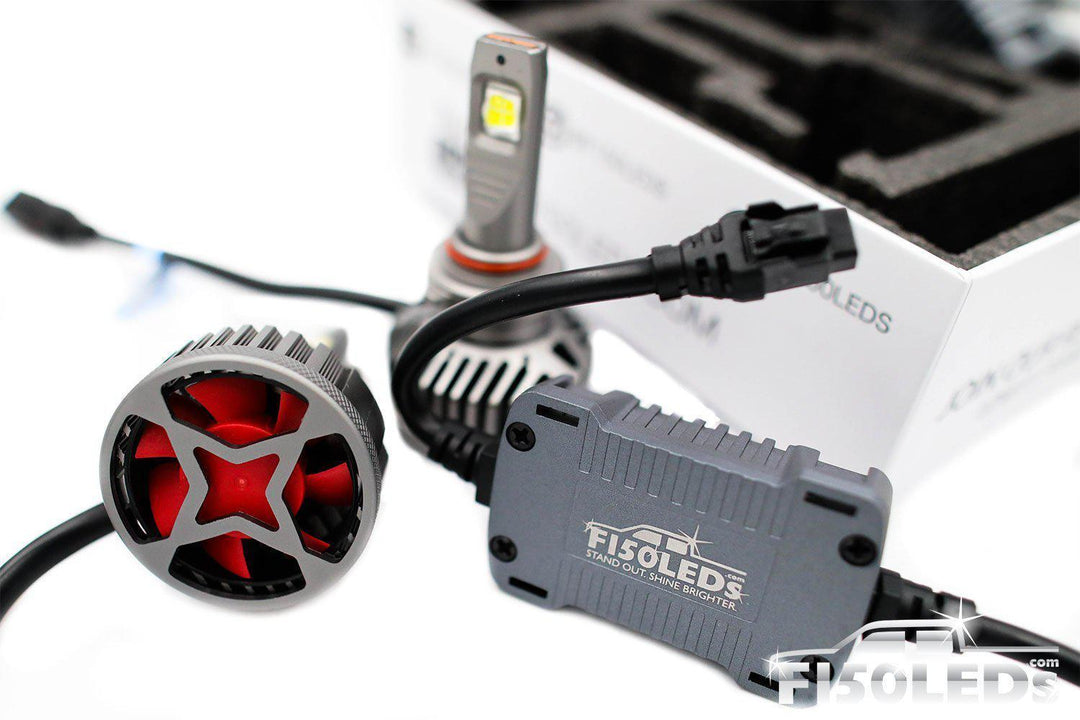
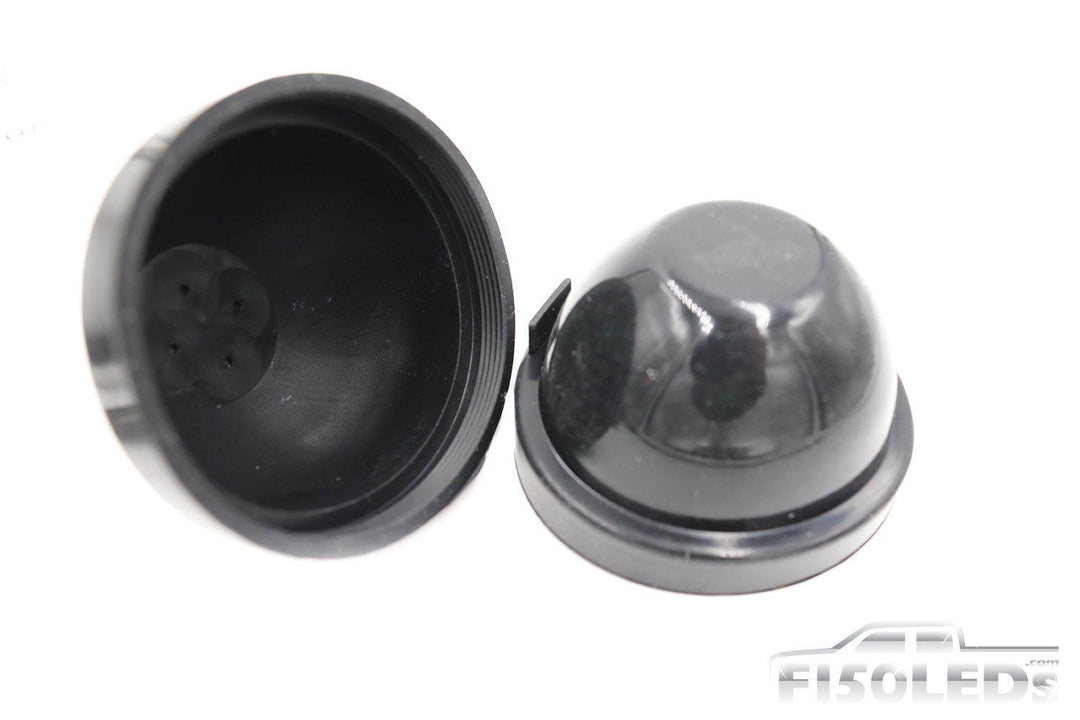
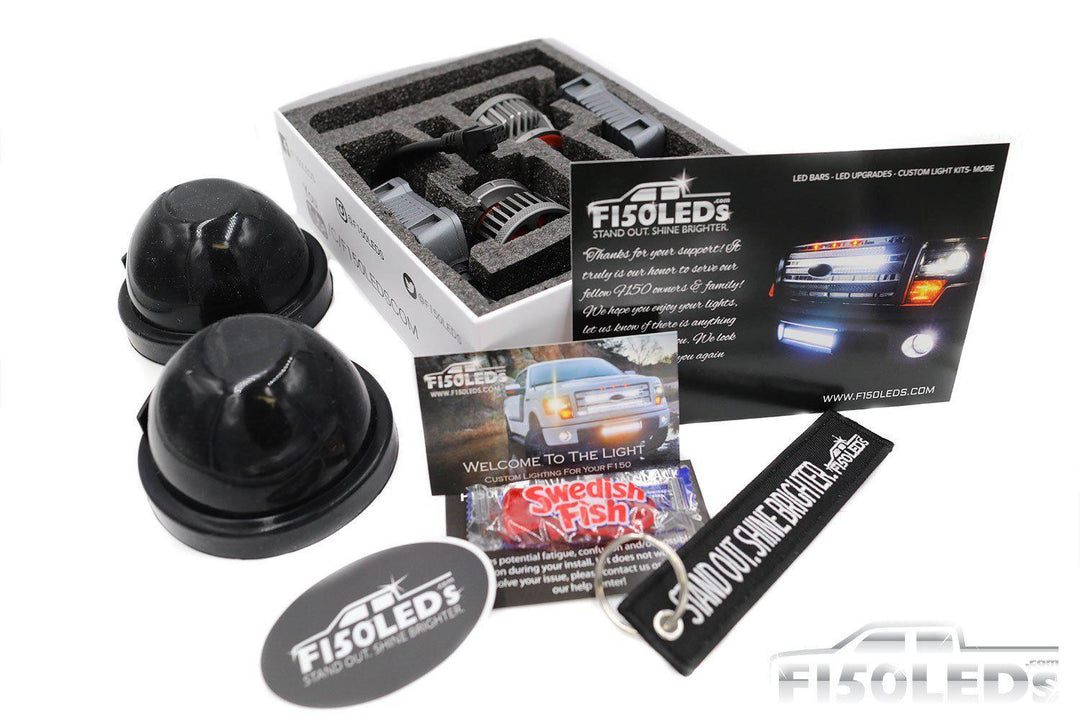
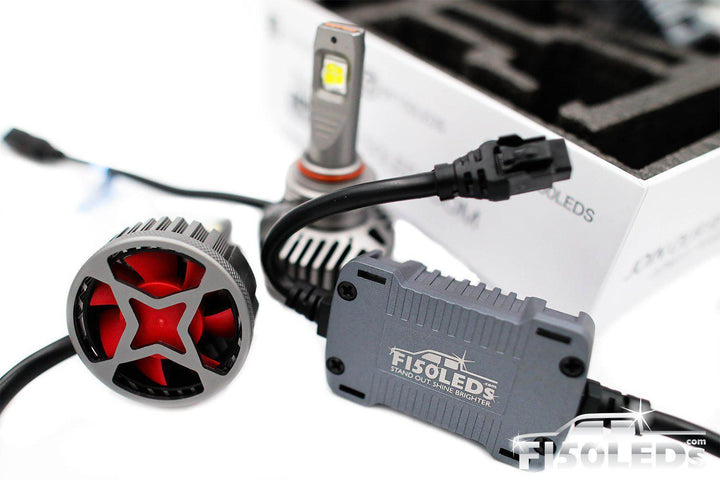
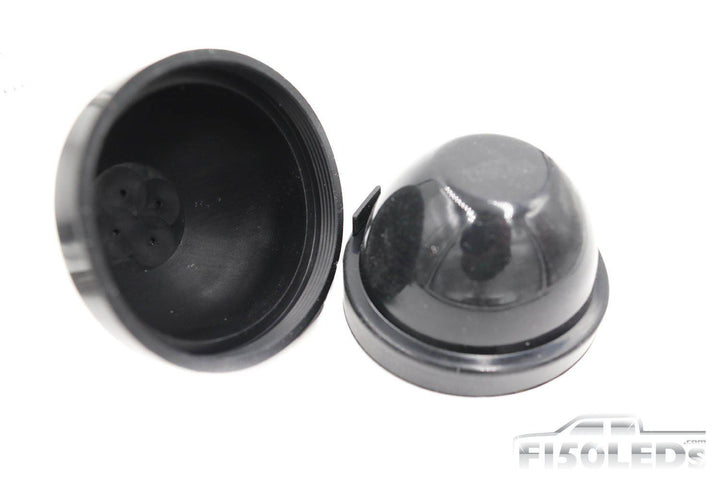
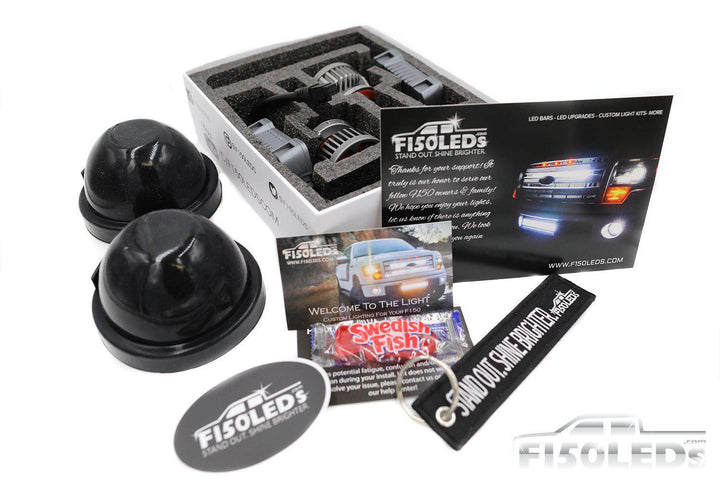
Now these lights are equipped with a copper PCB heat sink to distribute that heat, plus an extra-large heat dissipation fan on the back of our MK5s. This is a prior generation MK3 headlight, and you can see the difference in the heat dissipation systems that we've equipped. We've done this so that we can utilize the extra power in the LEDs of the XHP line. These LEDs are made through the highest of standards to withstand all weather conditions and extreme temperature conditions. They're constructed out of aircraft grade Aluminum 6063, and are a fully enclosed system. Meaning that depending on your model year F150, we include the necessary custom grommets to maximize the airflow within your headlight system, without compromising weather durability.
The first thing that we need to do is simply pull back on this wheel rail liner to give us access to the bulbs that we're looking at replacing. To do that we need to remove four bolts. There's two here, and then there's two along this inner wheel rail. One here and one here, in more of a 12 o'clock position, and you can use a size seven socket to remove those four bolts. Now that we've got our bolts removed, we'll be able to bend this wheel rail liner up over the wheel, get it out of our way, got to pull up an off the rim here of the spindle. Like so. You better just roll it, like so, out of our way, and this is going to give us the room what we need to access the bolts.
Okay, so we've got this wheel rail liner pulled back and that's going to expose our headlights. Now go ahead and tell you, it's a real tight spot for our camera work to show you what's going on. But once you've got this peeled back and you're getting to look directly yourself, it's going to all be right here. It's actually a lot of room to work with. So it's nice in that way, but we're going to do our best here on the camera to highlight the area, so you know what you're getting into when you pull this open. So this rubber grommet here, this is going to be your low beam bulb, which goes on the top side. Low beam goes on the top of your headlight housing. And then you've got at the lower point here. Highlight it with the little spotlight. This is going to actually be your high beam, but it's on the low side of your headlight housing.
So low beam goes on top high beam comes here on the bottom, and then you'll notice here in the middle is you've got your front blinker light. So we're going to start here with our low beam here at the top. So the first thing that we need to do, again, I'm going to have to block some of the angle as I'm working here, and I'm also working off a screen. So I'm not... I can't even actually see. But we're going to pull this rubber grommet off. It's just going to pull off with your hands. If it's on there real good, you can use a flathead screwdriver to pry it off a little bit. So we'll set that aside. So you'll be able to reach into this housing, grasp your low beam bulb and with a counter-clockwise turn, it will release and then you'll be able to pull directly out.
Okay. So this is our light here. Again, counter-clockwise turn released it. So what we're going to do is this little tab connector here, we need to disconnect it from this halogen bulb. Okay. To do that, you can simply push on the back of this tab connector here and then pull the bulb out. Like so.
Now what we need to do is take this tab that we just removed the bulb from and we're going to connect it to our digital F150LEDs tuned ballast system here that's also connected to our headlight. So this tab is going to connect to the truck's harness. Notice that there is an up and down on this. There is a notch for this tab here to lock onto. So once you get it lined up, you want to push it in until you feel it lock into place. Like so.
One thing to look out for when you go to install this bulb into your low beam housing is the different size of these three tabs. One is larger. So as you're installing this bulb, you can look from the front of your headlight housing here and notice that one of the tabs is actually a little bit larger than the other. So on this particular truck, you're going to want your large tab to be facing in a two o'clock position, like so. This is going to help you when we come to insert our light here and then just watch it from the front to make sure that you're getting your tabs lined up correctly. Okay, we've got it in. Now with the clockwise turn, she's locked into place. Okay. So we've got our low beam there installed so we can feed our extra wiring up into this housing. And we've also got our custom extended grommet. So we're not going to be using the OEM grommet, we're going to be using this. It gives us a little more room and a little more air flow.
So we're going to be again, replacing it with this silver speeder, extra wire up into the extra space here. Try not to completely block your fan if you don't have to. Okay, so we've got basically everything in there. You could use that flush grommet again, but again, just to give us a little more air flow room, we're going to replace it with this custom larger grommet. So we just wrap it over the top. Okay. So now we've got our low beam grommet installed here.
So now let's go ahead and move to our high beam, which is again here on the low side. So it's going to be the same operation. Just go ahead and pull this flat rubber OEM grommet off, like so. Let's set it to the side. And this is our high beam bulb here. Same deal. You're going to grasp it with a counter-clockwise turn. It's going to release, and then you'll be able to pull it directly up. The connector is a little bit different. You just have to pry up on these two tabs here to release the bulb. A flat head screwdriver, or a pry tool, just makes it a little easier. You can do it with your fingers, like so.
So this is again, the high beam bulb that we're replacing. And then we're going to take our MK5 light high beam, and connect our digital ballasts to the harness. Again, make sure we've got our tab here at the top to click into, until you hear it clicking again. So it's seated well. So we're going to go ahead and feed a little wire in here in our ballasts, like so, towards the bottom. Okay. Now we're ready to put our... Let's see if you can see that one in the light. Now we're ready to install the light. Again, this does have tabs. So you want to make sure it's seated, like so, and then give it a clockwise turn. You feel just a little bit of resistance that you want to work with. Obviously you don't want to push too hard. Okay, so that's it. Now we've got our full system installed. And again, we've got our custom grommets just for that extra air flow that we're going to use here. Let's see if I can get to this one a little easier. Just work it around the edges... To make sure it's seated all the way around.
Okay. So now we've got our high beam installed as well as our low beam. Once your headlights are installed, if you feel that they need re-aiming, you can find the adjustment screw at the top of your headlight here, and you can use a number two size Phillips screwdriver to adjust your beam. Now, a counter-clockwise turn is going to raise your beam level and a clockwise turn is going to lower your beam level.
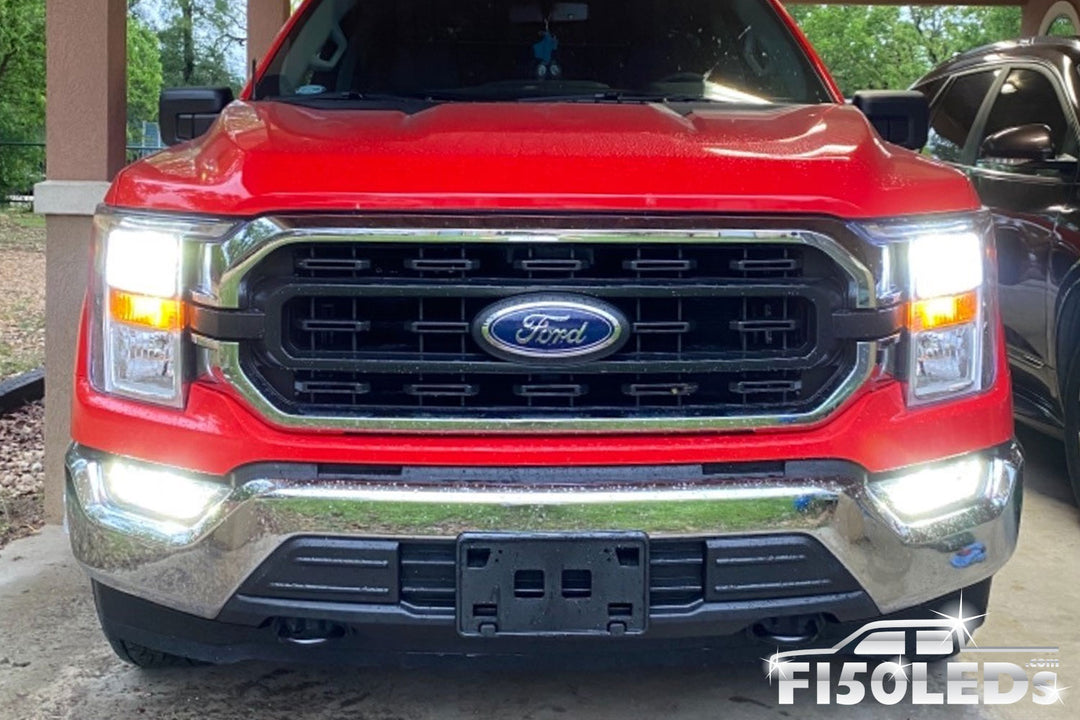
Okay guys, that's all there is to getting our MK5 LED headlights installed here on your 21 and up Ford F150 series truck. They look fantastic. The camera cannot do these things justice, and they're definitely going to improve your driving experience in the evening, early mornings, and of course at night. So we highly recommend that you check these out at F150LEDs.com, where you'll find all of our products built specifically for your Ford F150 and super-duty trucks. We truly appreciate your support. We got a lot more great content for this 21 coming out soon. So be sure to hit the subscribe button, and we'll see you at F150LEDs.com soon. Thanks guys.