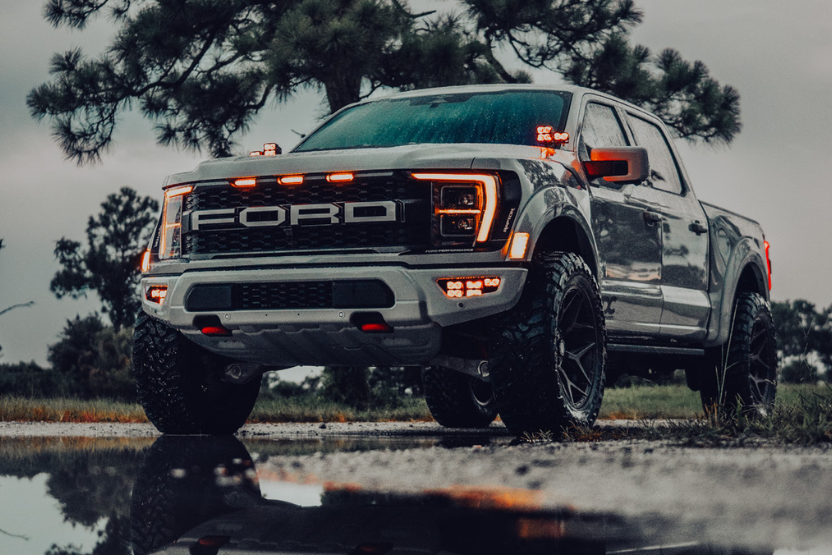
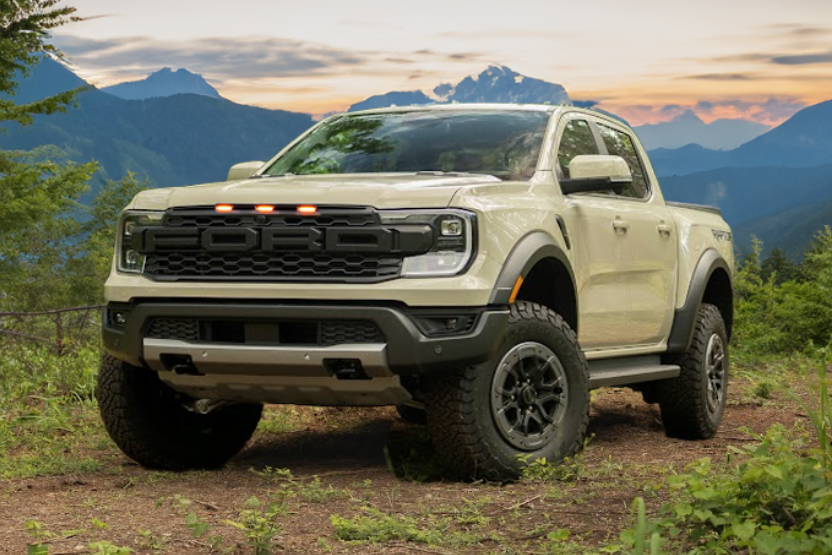

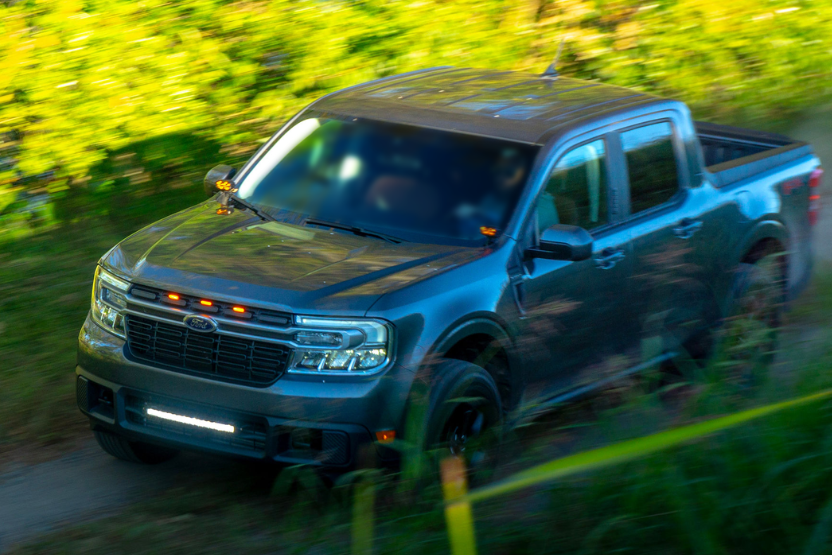


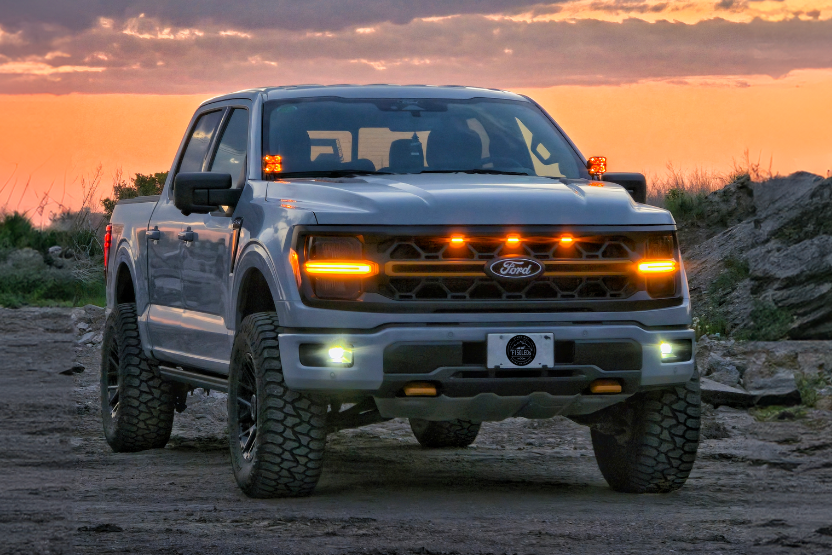
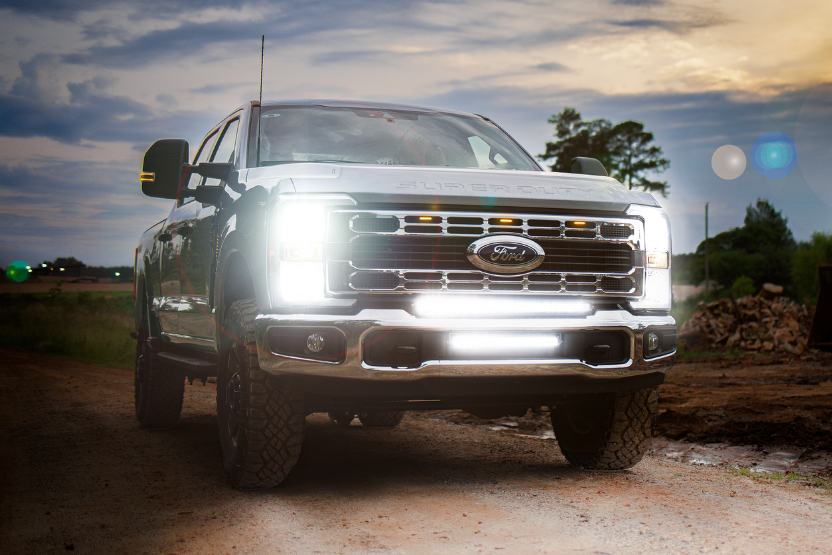
Take your Raptor to the next level & shine brighter with our dual (or single) lower intake Paladin lighting system. The CREE Paladin series lights are extremely bright, look fantastic and stay tucked up nicely out of the way inside your intake box. This is a great option for those that want an 'understated' look but the power to really light up the night. In both single and dual configurations allow for proper airflow and thanks to our custom configuration do not impede the shutter system.
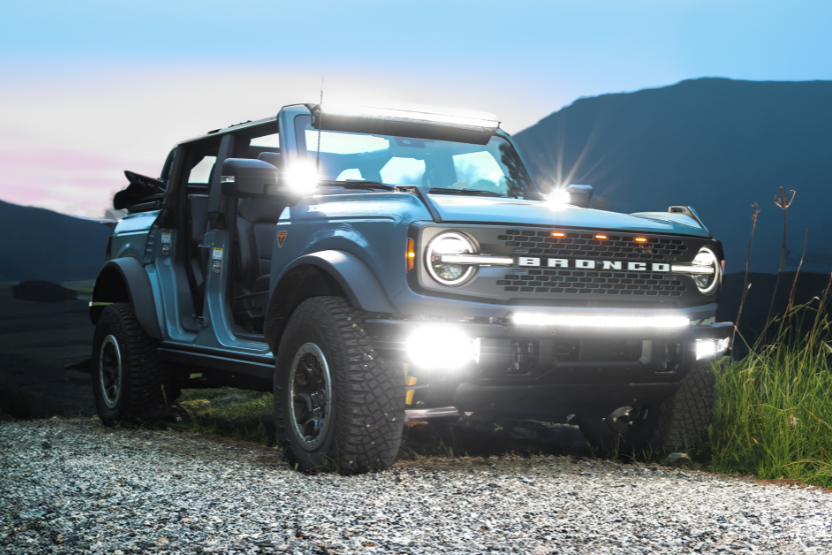
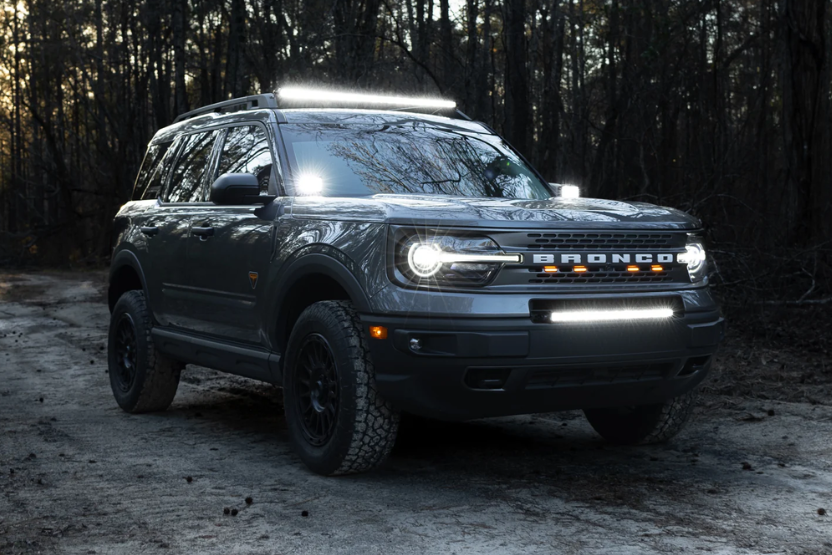
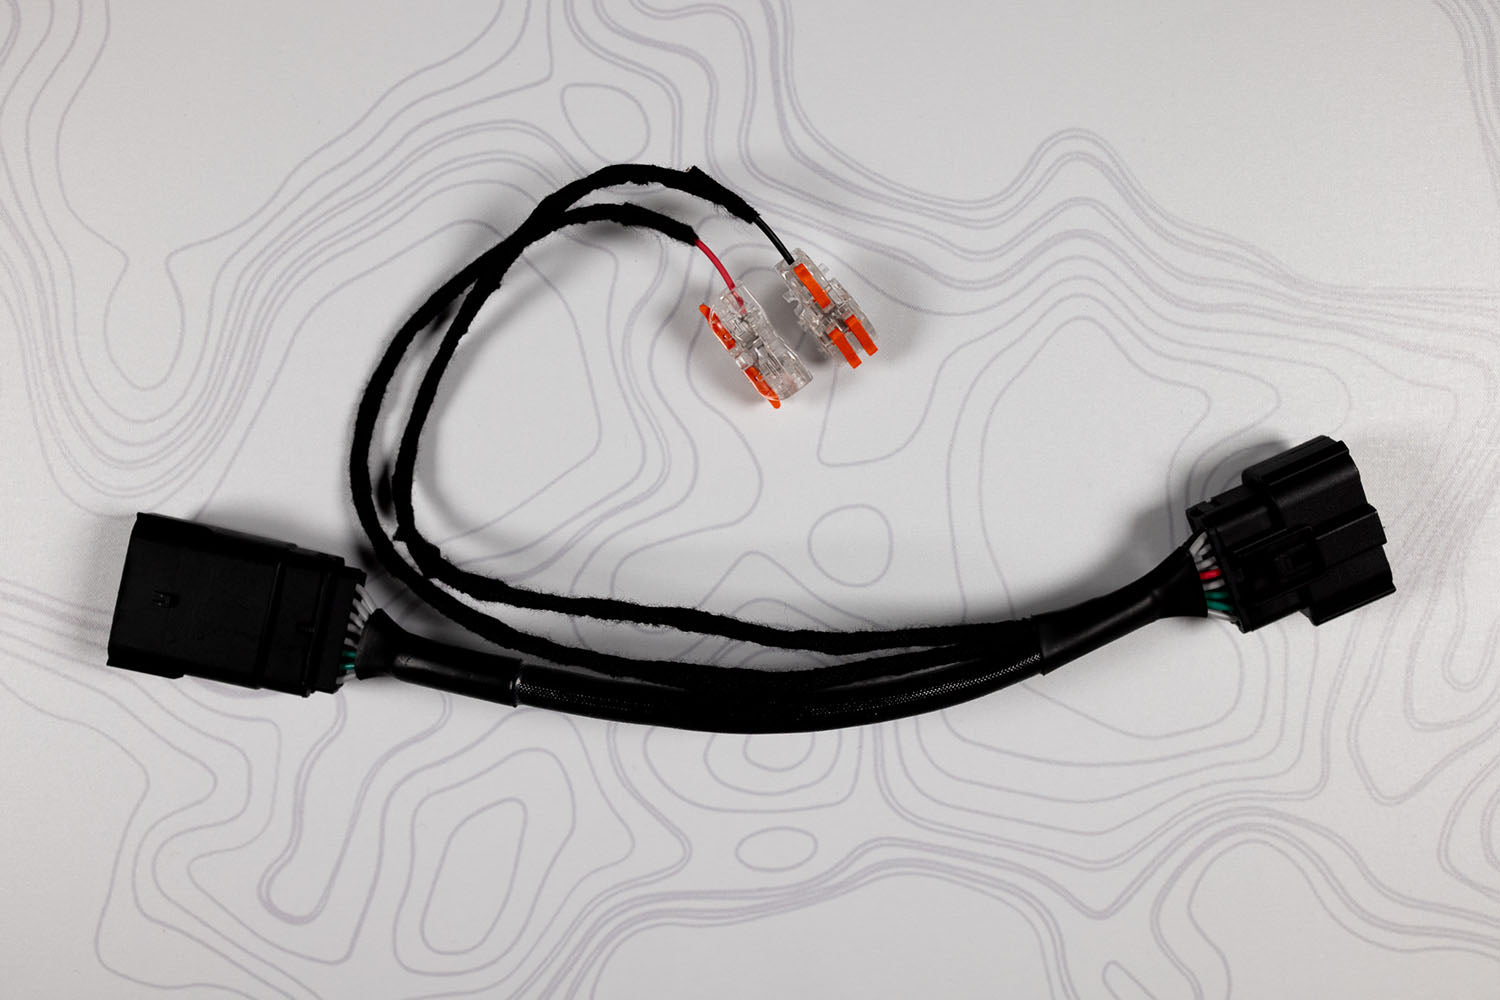
Enjoy the next generation of CREE XTE 5W high performance LED bars today! Our Paladin series LED bars utilize 5W CREE XTE LEDs, HPO (Hyper Paladin Optics), a combination of both flood and spot beams, IP68 weatherproofing, slimline curved design, blackout hardware, custom mounting brackets and matching IP68 heavy-duty harness kits.
Everything you need to stand out & shine brighter with your custom LED bar is included. Install is very easy and we guarantee you will be impressed!
Warranty: Each and every product we offer includes our Full 1-year warranty!
